APIC Dev Jam Lab 1 - Create and Secure an API
In this lab, you will get a chance to use the online APIC Developer Toolkit and its intuitive interface to create a new API using the OpenAPI definition (YAML) of the existing product inventory RESTful web-service.
In this tutorial, you will explore the following key capabilities:
-
Creating an API by importing an OpenAPI definition for an existing REST service.
-
Configuring ClientID/Secret Security, endpoints, and proxy to invoke endpoint.
-
Testing a REST API in the online developer toolkit.
-
Publish an API for developers.
APIC Dev Jam Series
The APIC Dev Jam Series is a hands-on workshop with lab exercises that walk you through designing, publishing, and securing APIs. This workshop is for API developers, architects, and line of business people who want to create a successful API strategy. There are 8 labs and each is 30 minutes long. Make sure you choose enough time in your reservation to get through all the labs!
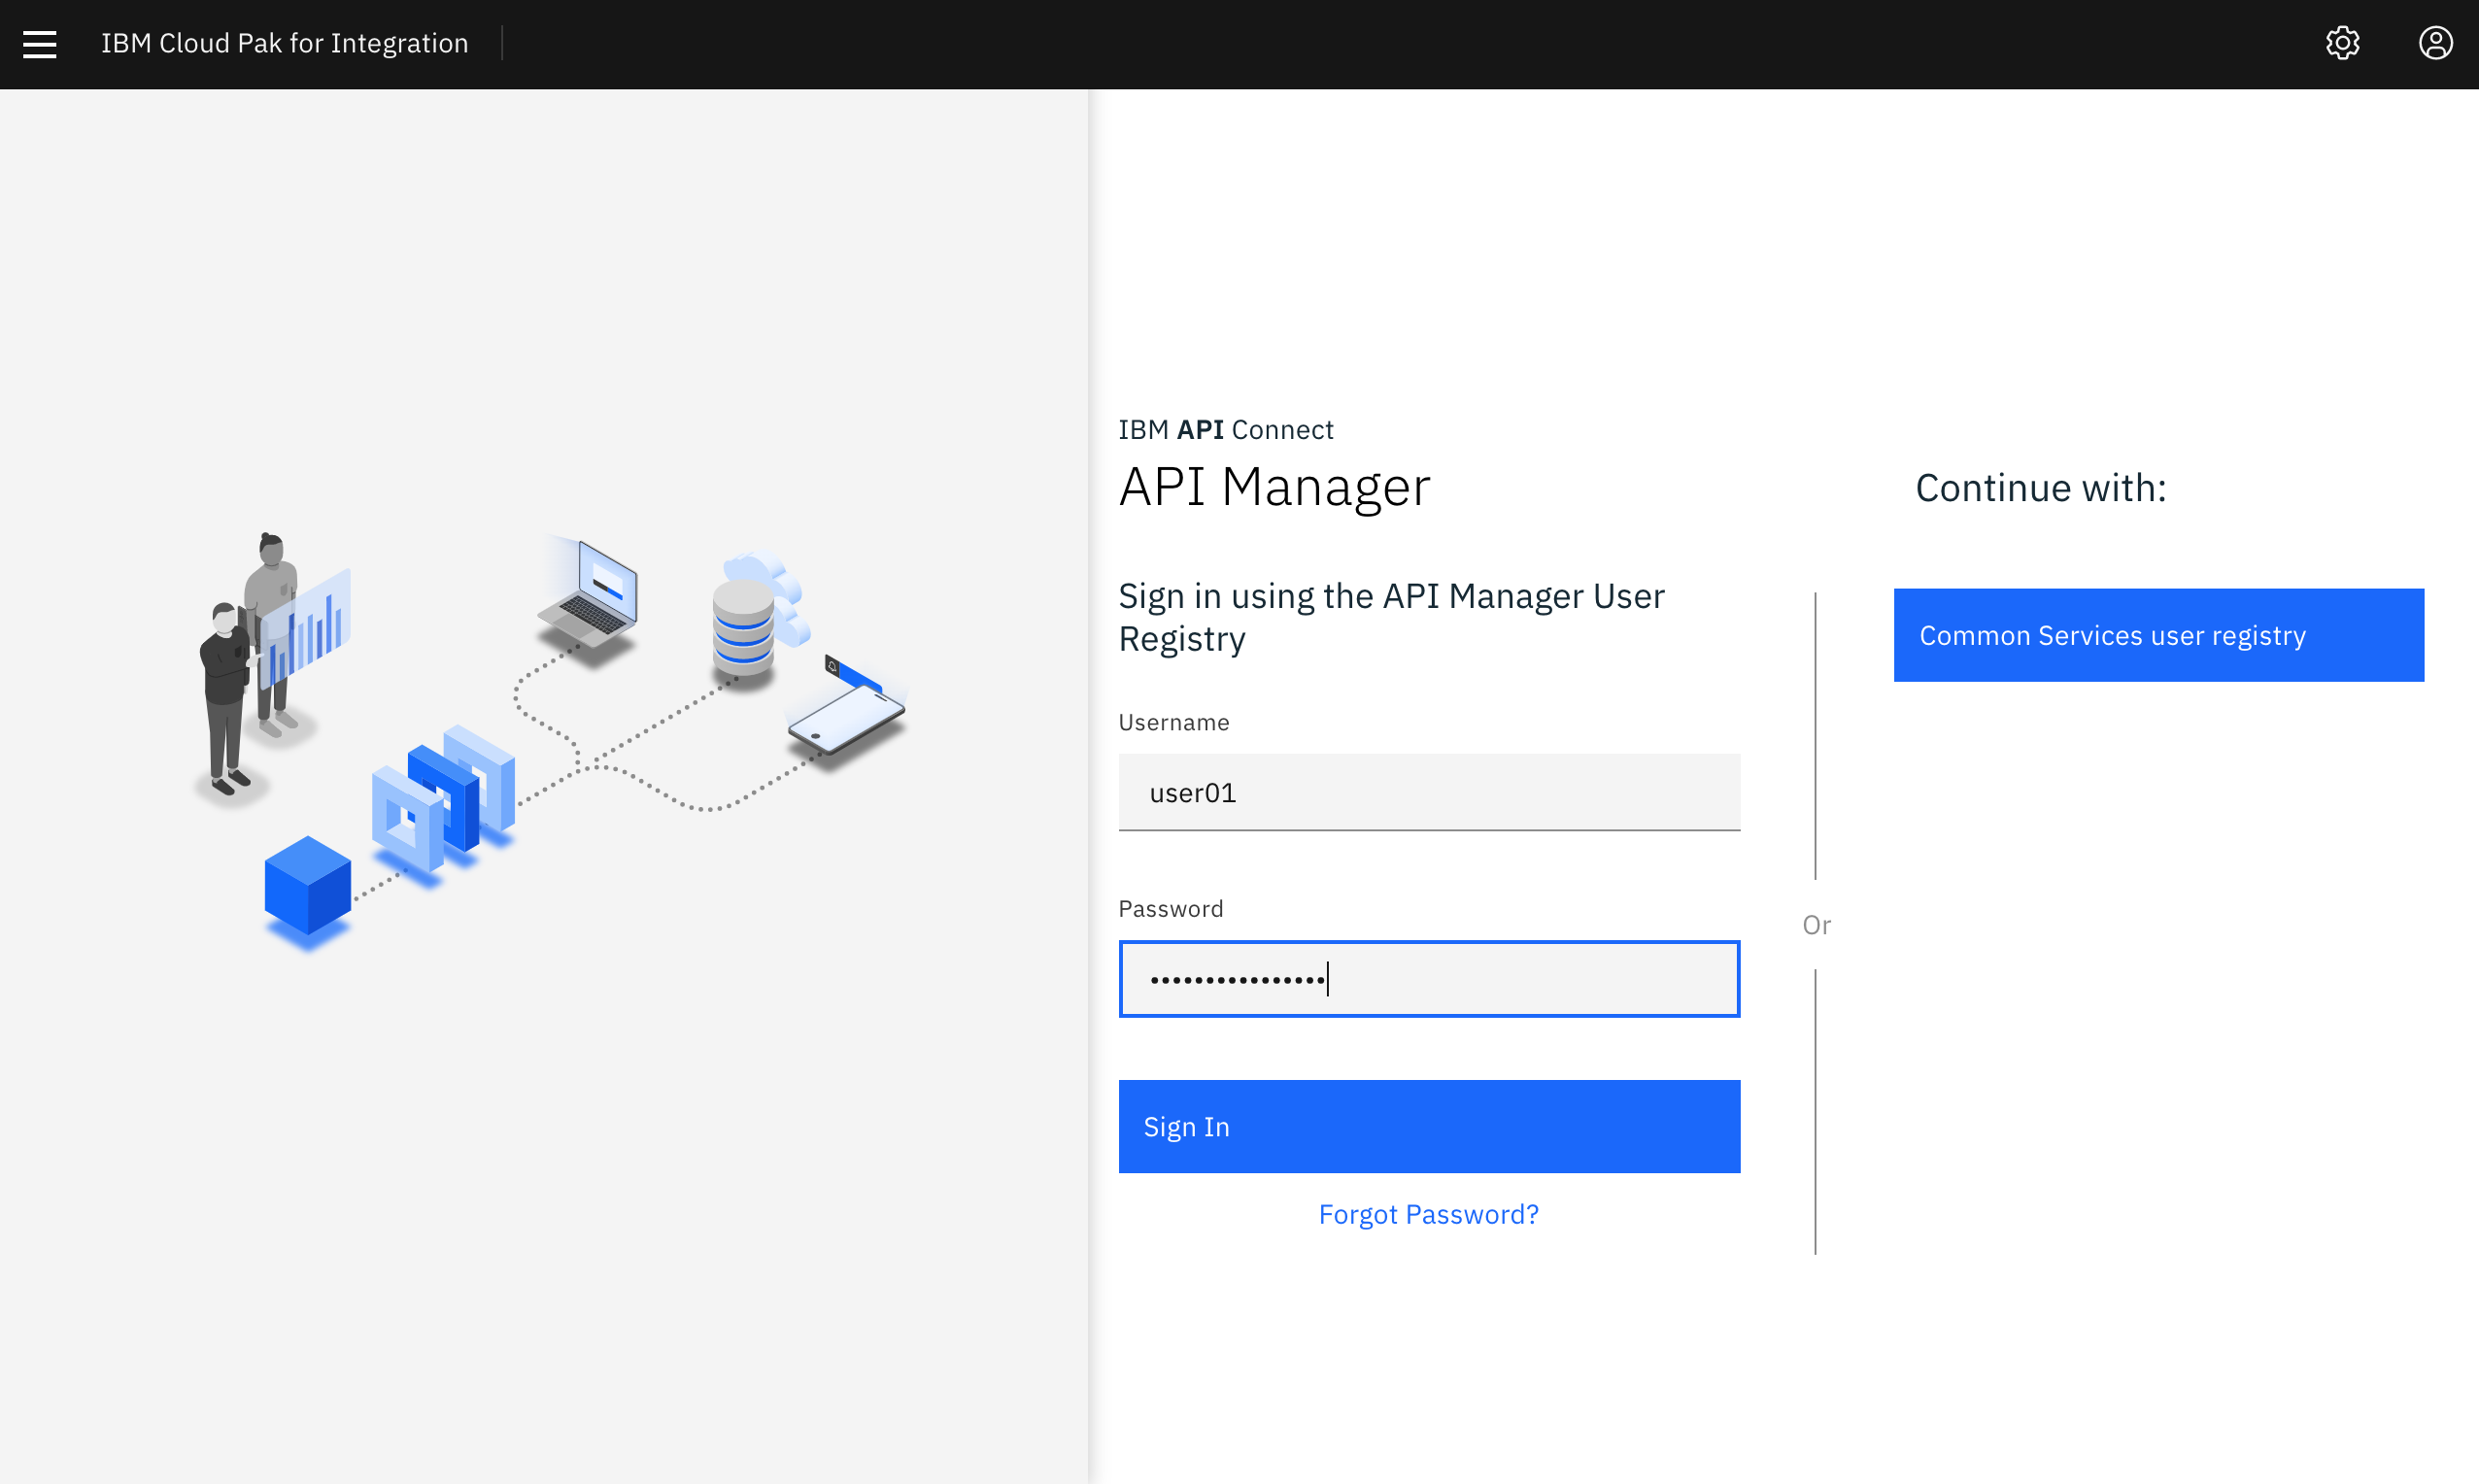
[NOTE: ][This demo environment contains a full API Connect installation in Cloud Pak for Integration. The login information to the APIC cluster will be sent in a separate email when you reserve the instance. Use Google Chrome, Firefox or Microsoft Edge to access the cluster using the credentials supplied. Make sure you login using API Manager User Registry not Common Services registry.]
Lab 1 : Create and Secure an API to Proxy an Existing REST Web service
Lab 2 : The Developer Portal Experience
Lab 3 : Add OAuth Security to your API
Lab 4 : Use Lifecycle Controls to Version Your API
Lab 6: Working with API Products
Lab 7: The Consumer Experience
Lab 8: Create and test GraphQL Proxy API
Import API to the Developer Workspace
First, we will download the OpenApi file for the existing REST service for Inventory. Then, we will import it to the online workspace.
-
Open a browser window to the API Manager Portal. If the screen displays [["Your connection is not private"]] click Advanced, and then Accept the to continue. Log in with the username ad credentials supplied.

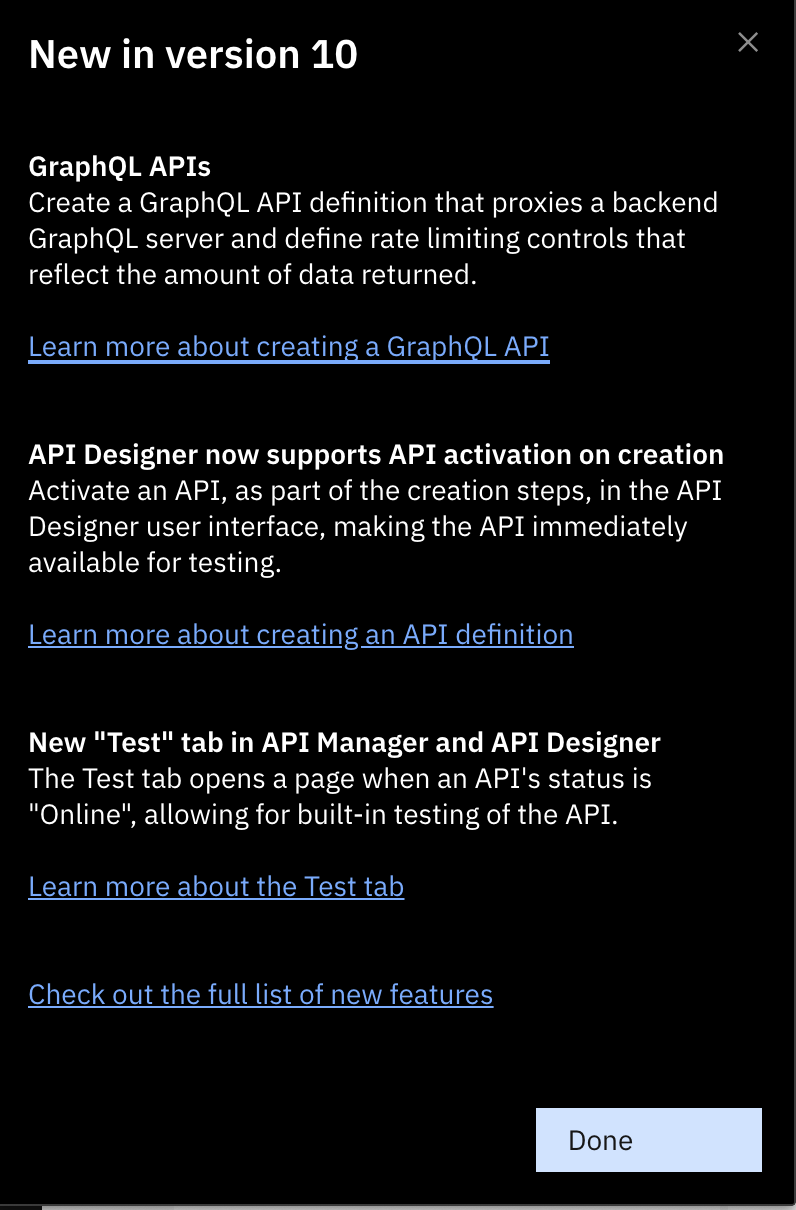
When you login for the first time you will see What’s new in API Connect
- Click Done after reviewing.
-
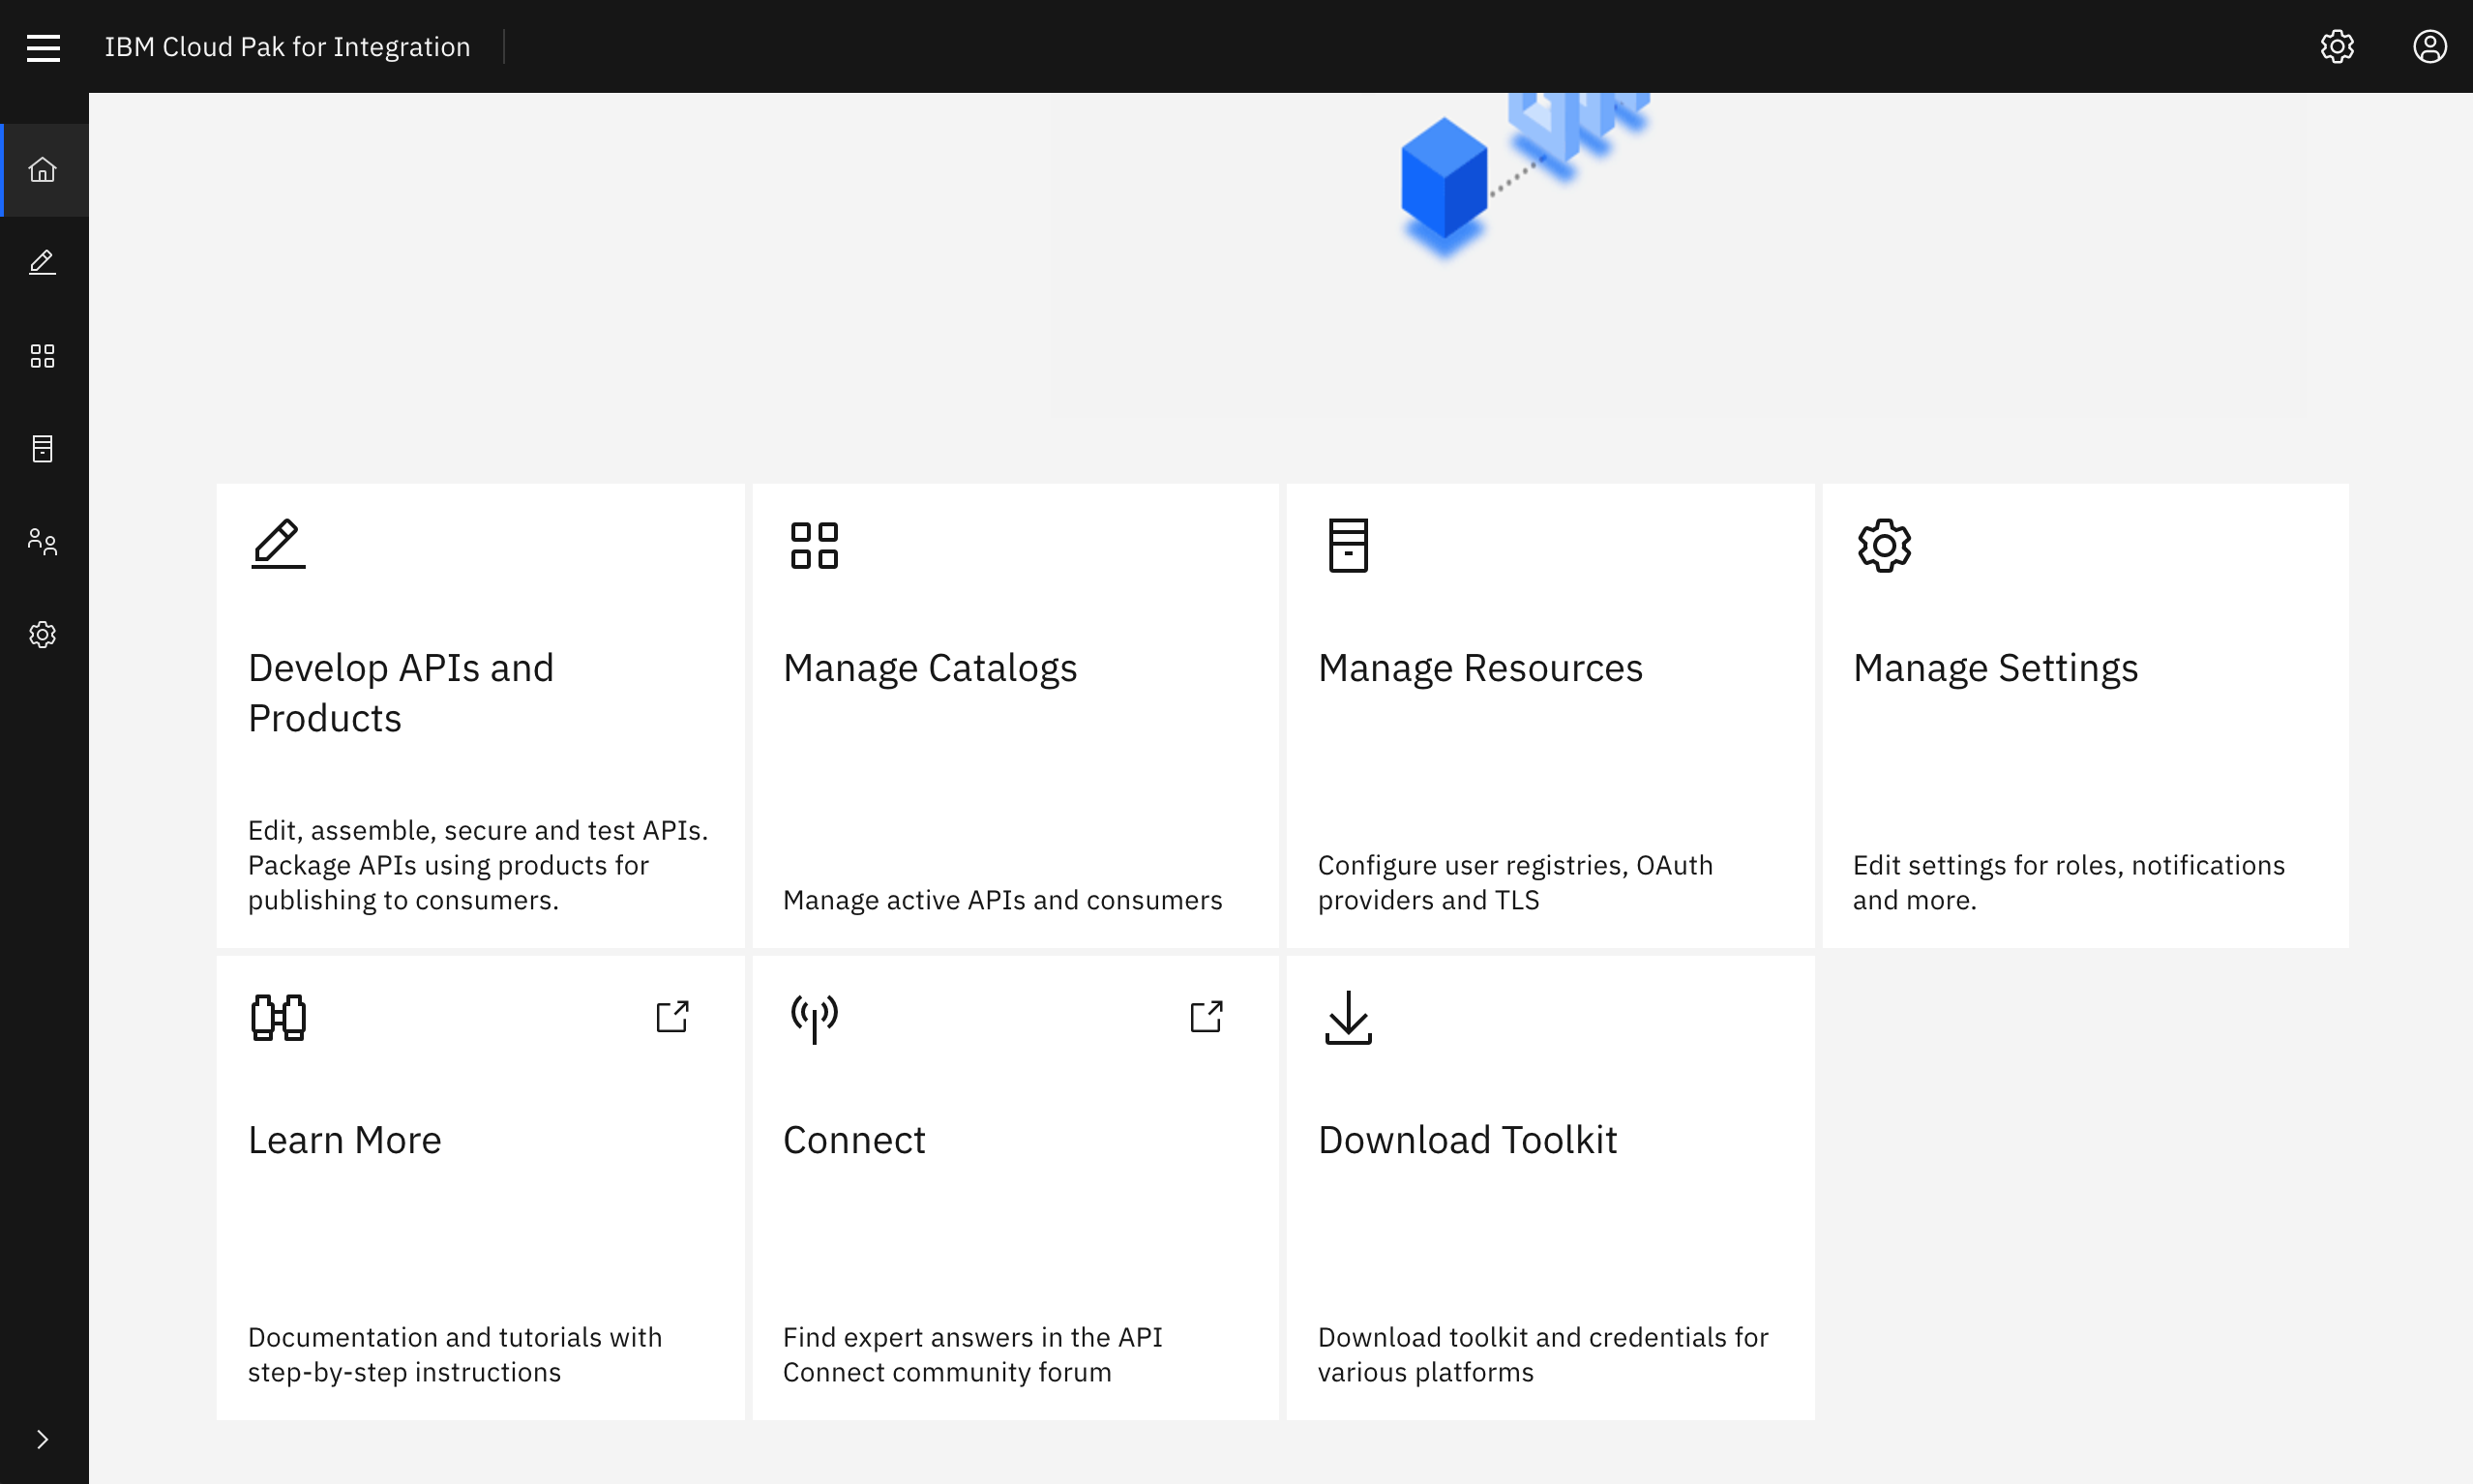
Click on the [[Develop APIs and Products]] tile to enter the online development workspace.
-
Now you are in the home screen of the online developer tool. From here, you can begin to create APIs and Products.

-
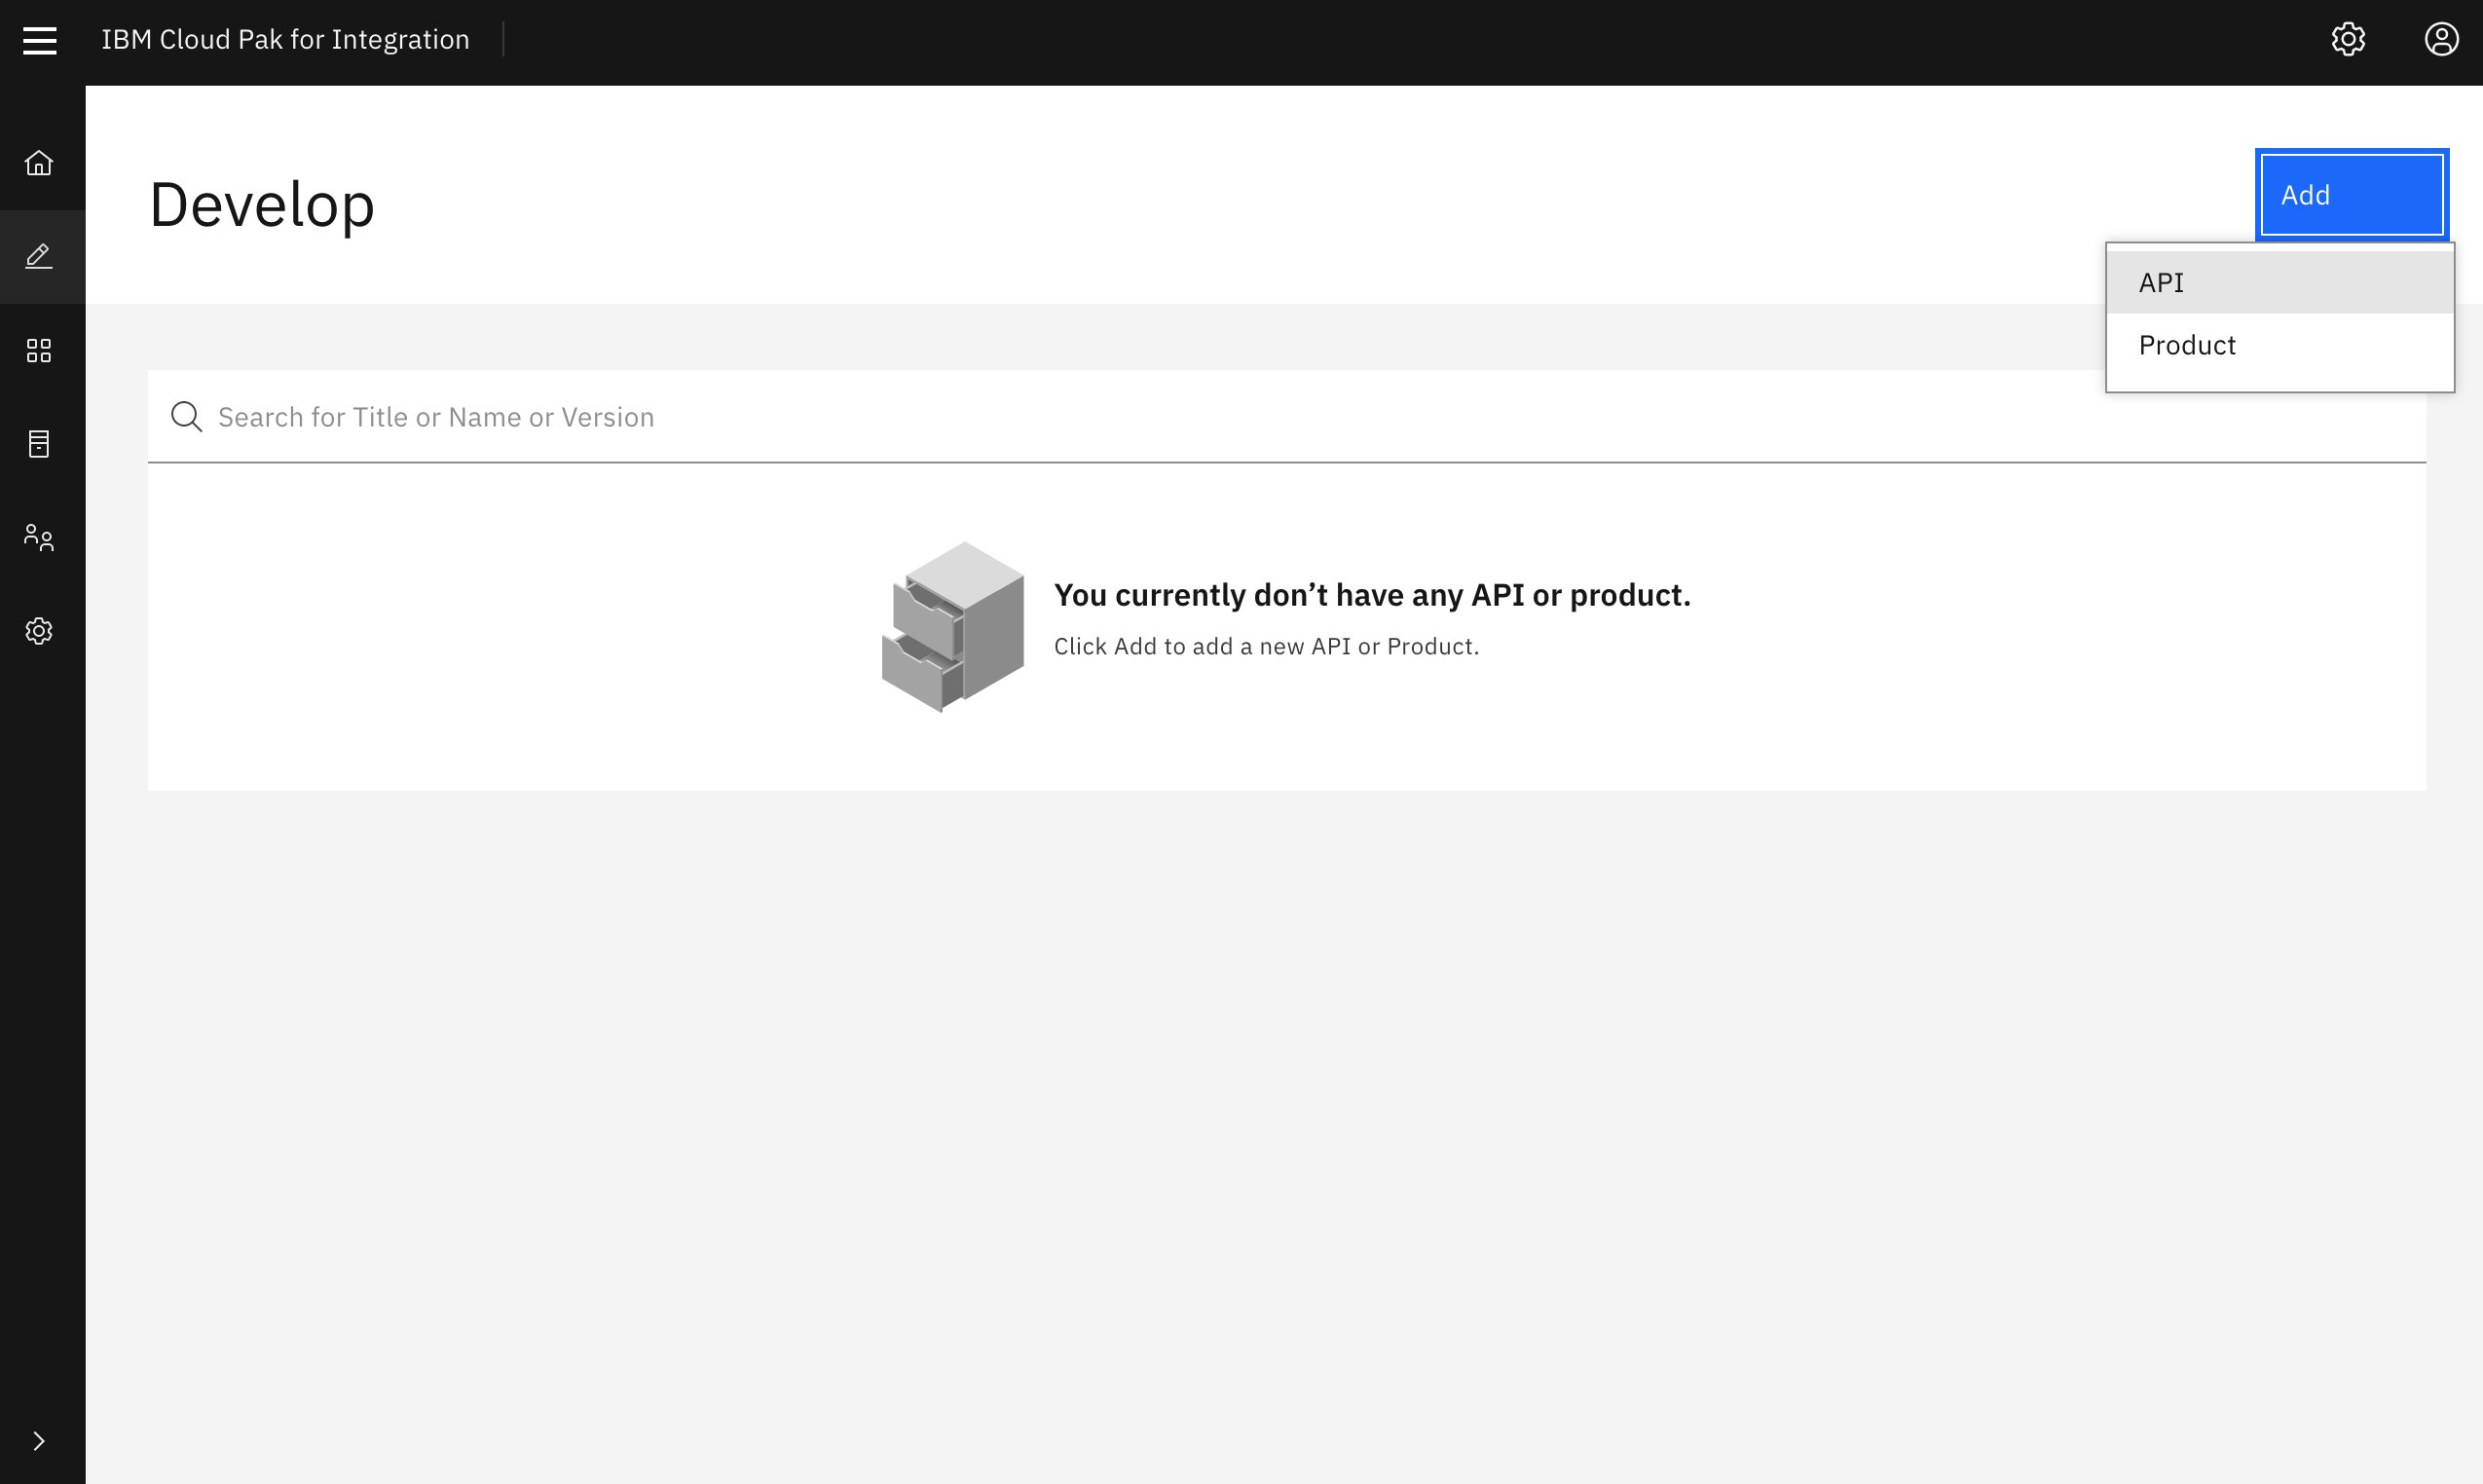
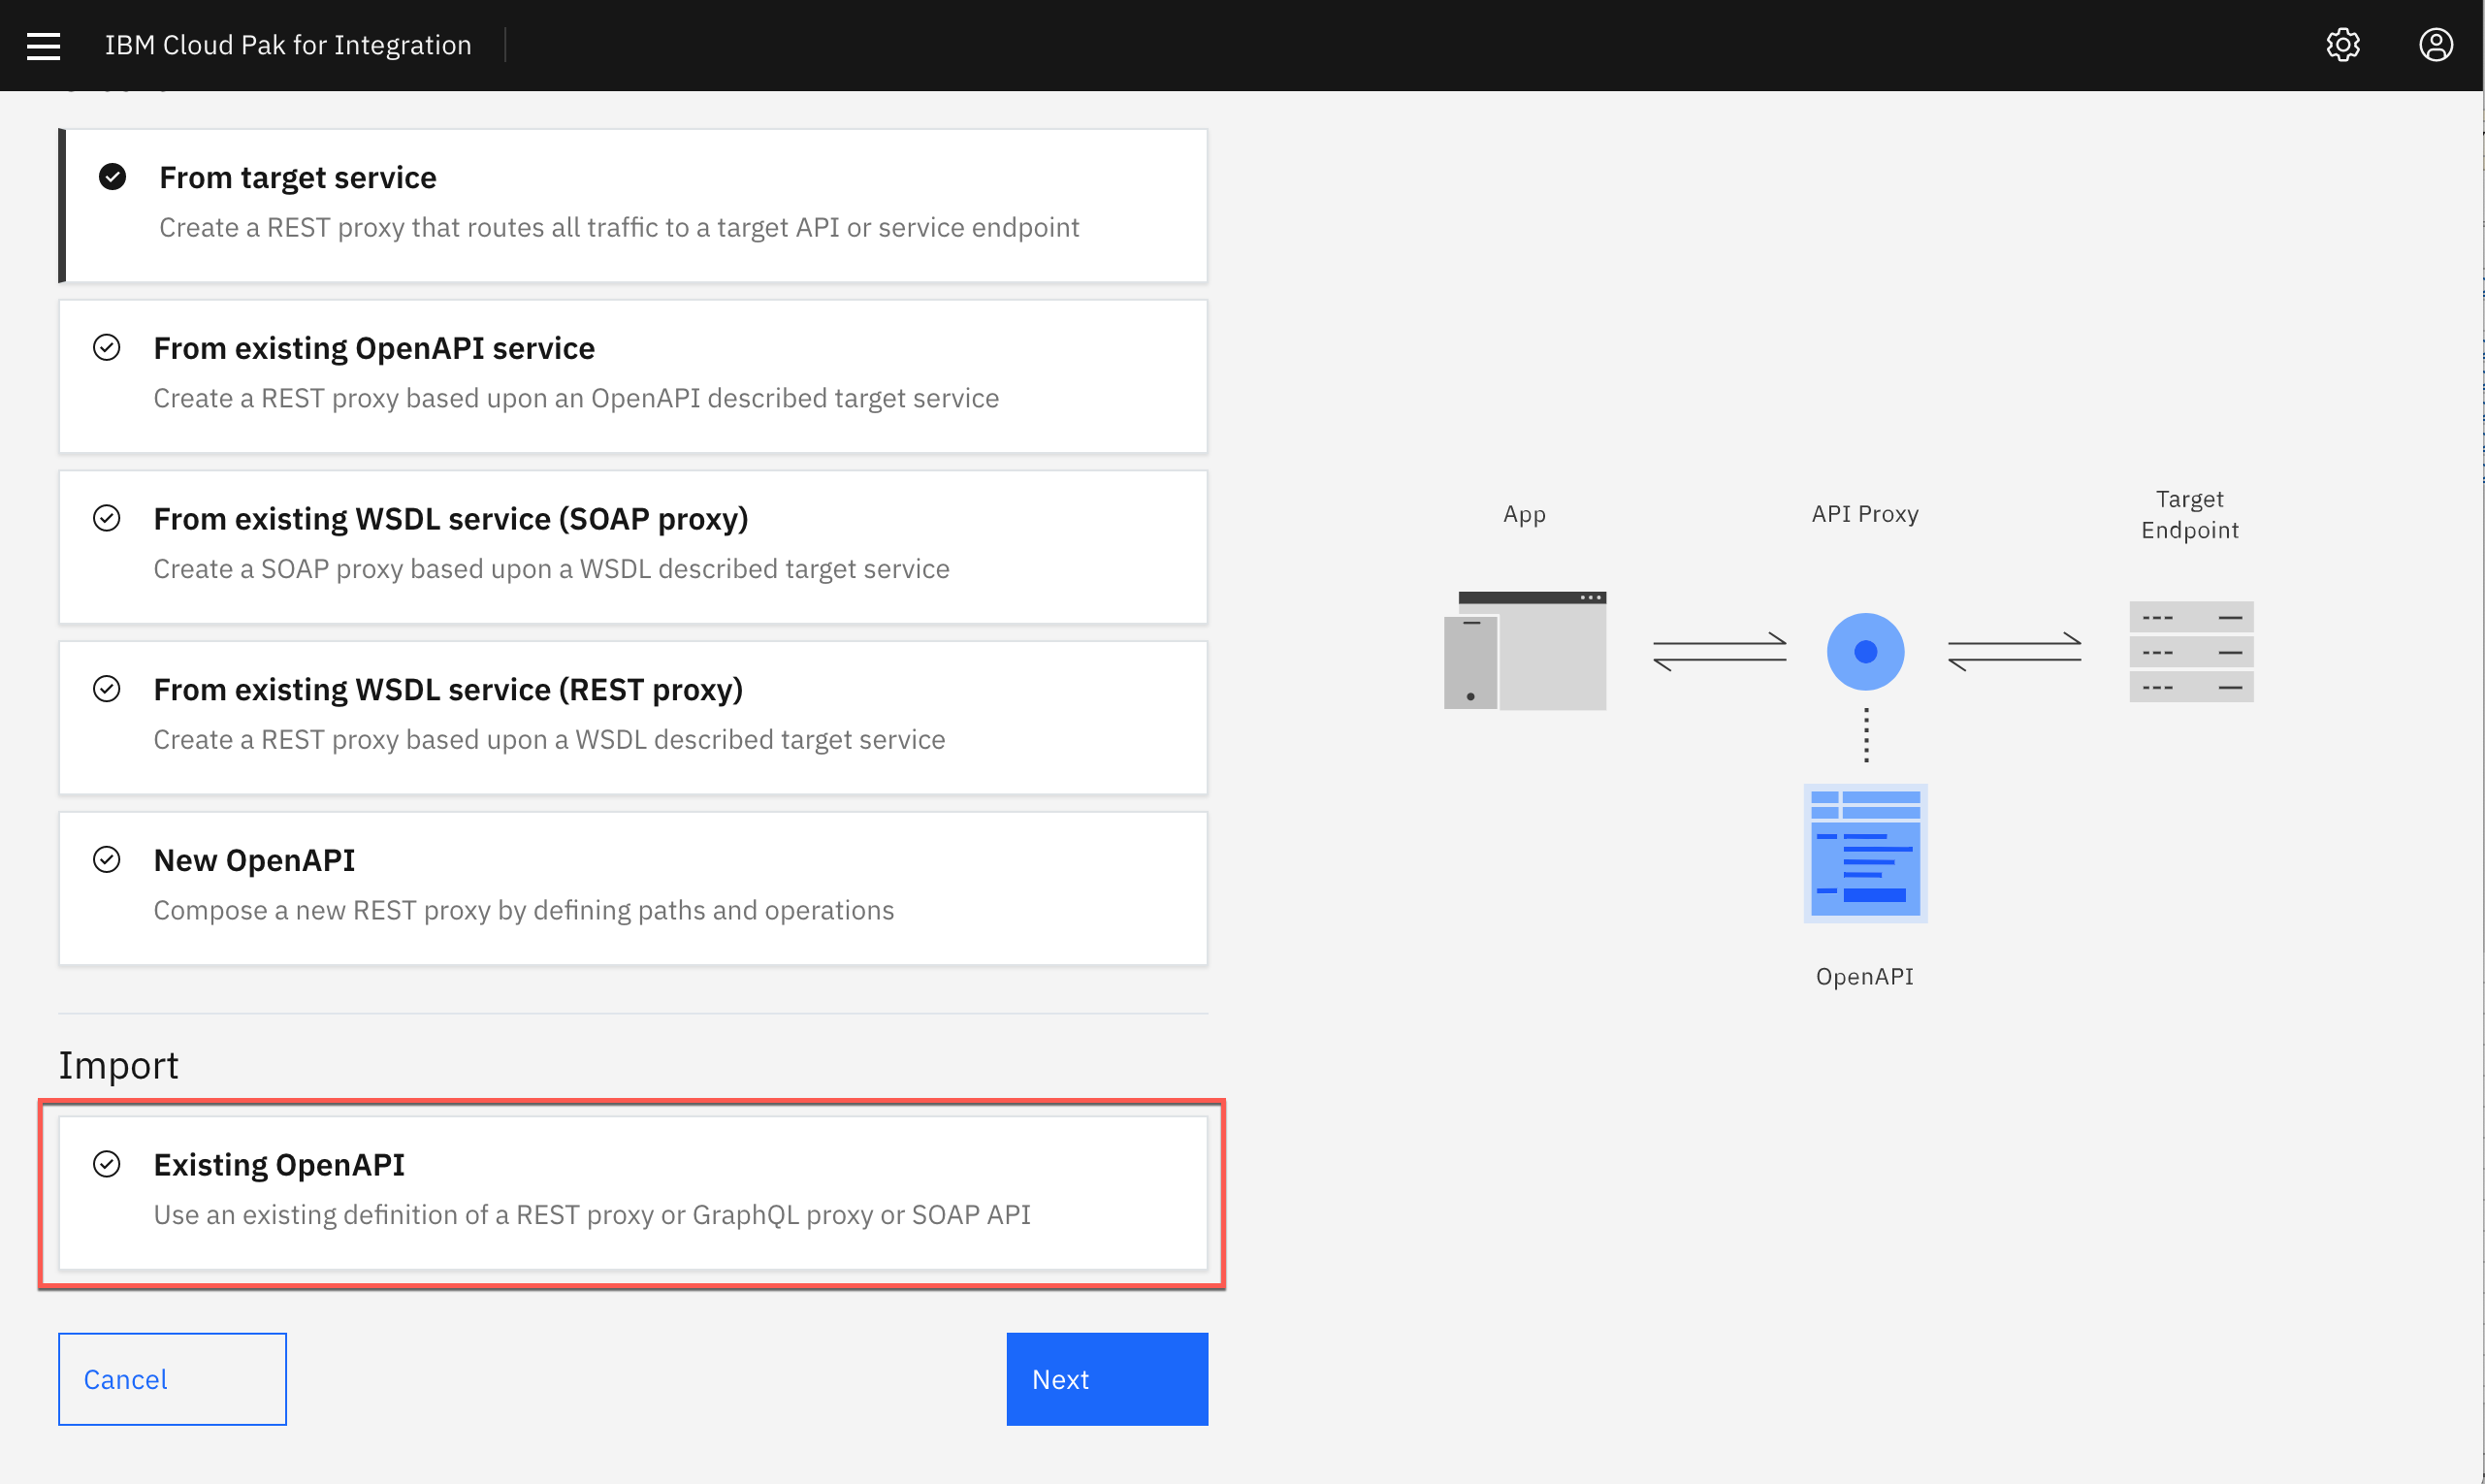
Click [[ADD->API.]]
-
On the next screen, select [[Existing OpenAPI]] under Import, as in the image below. Then click [Next.]
-
Now download the[[Inventory.yaml]] file the dte-labs git repository using the following command.
curl -OL https://raw.githubusercontent.com/ibm-cloudintegration/dte-labs/master/APICv10/inventory.yamlYou can also down the file using this link : inventory.yaml
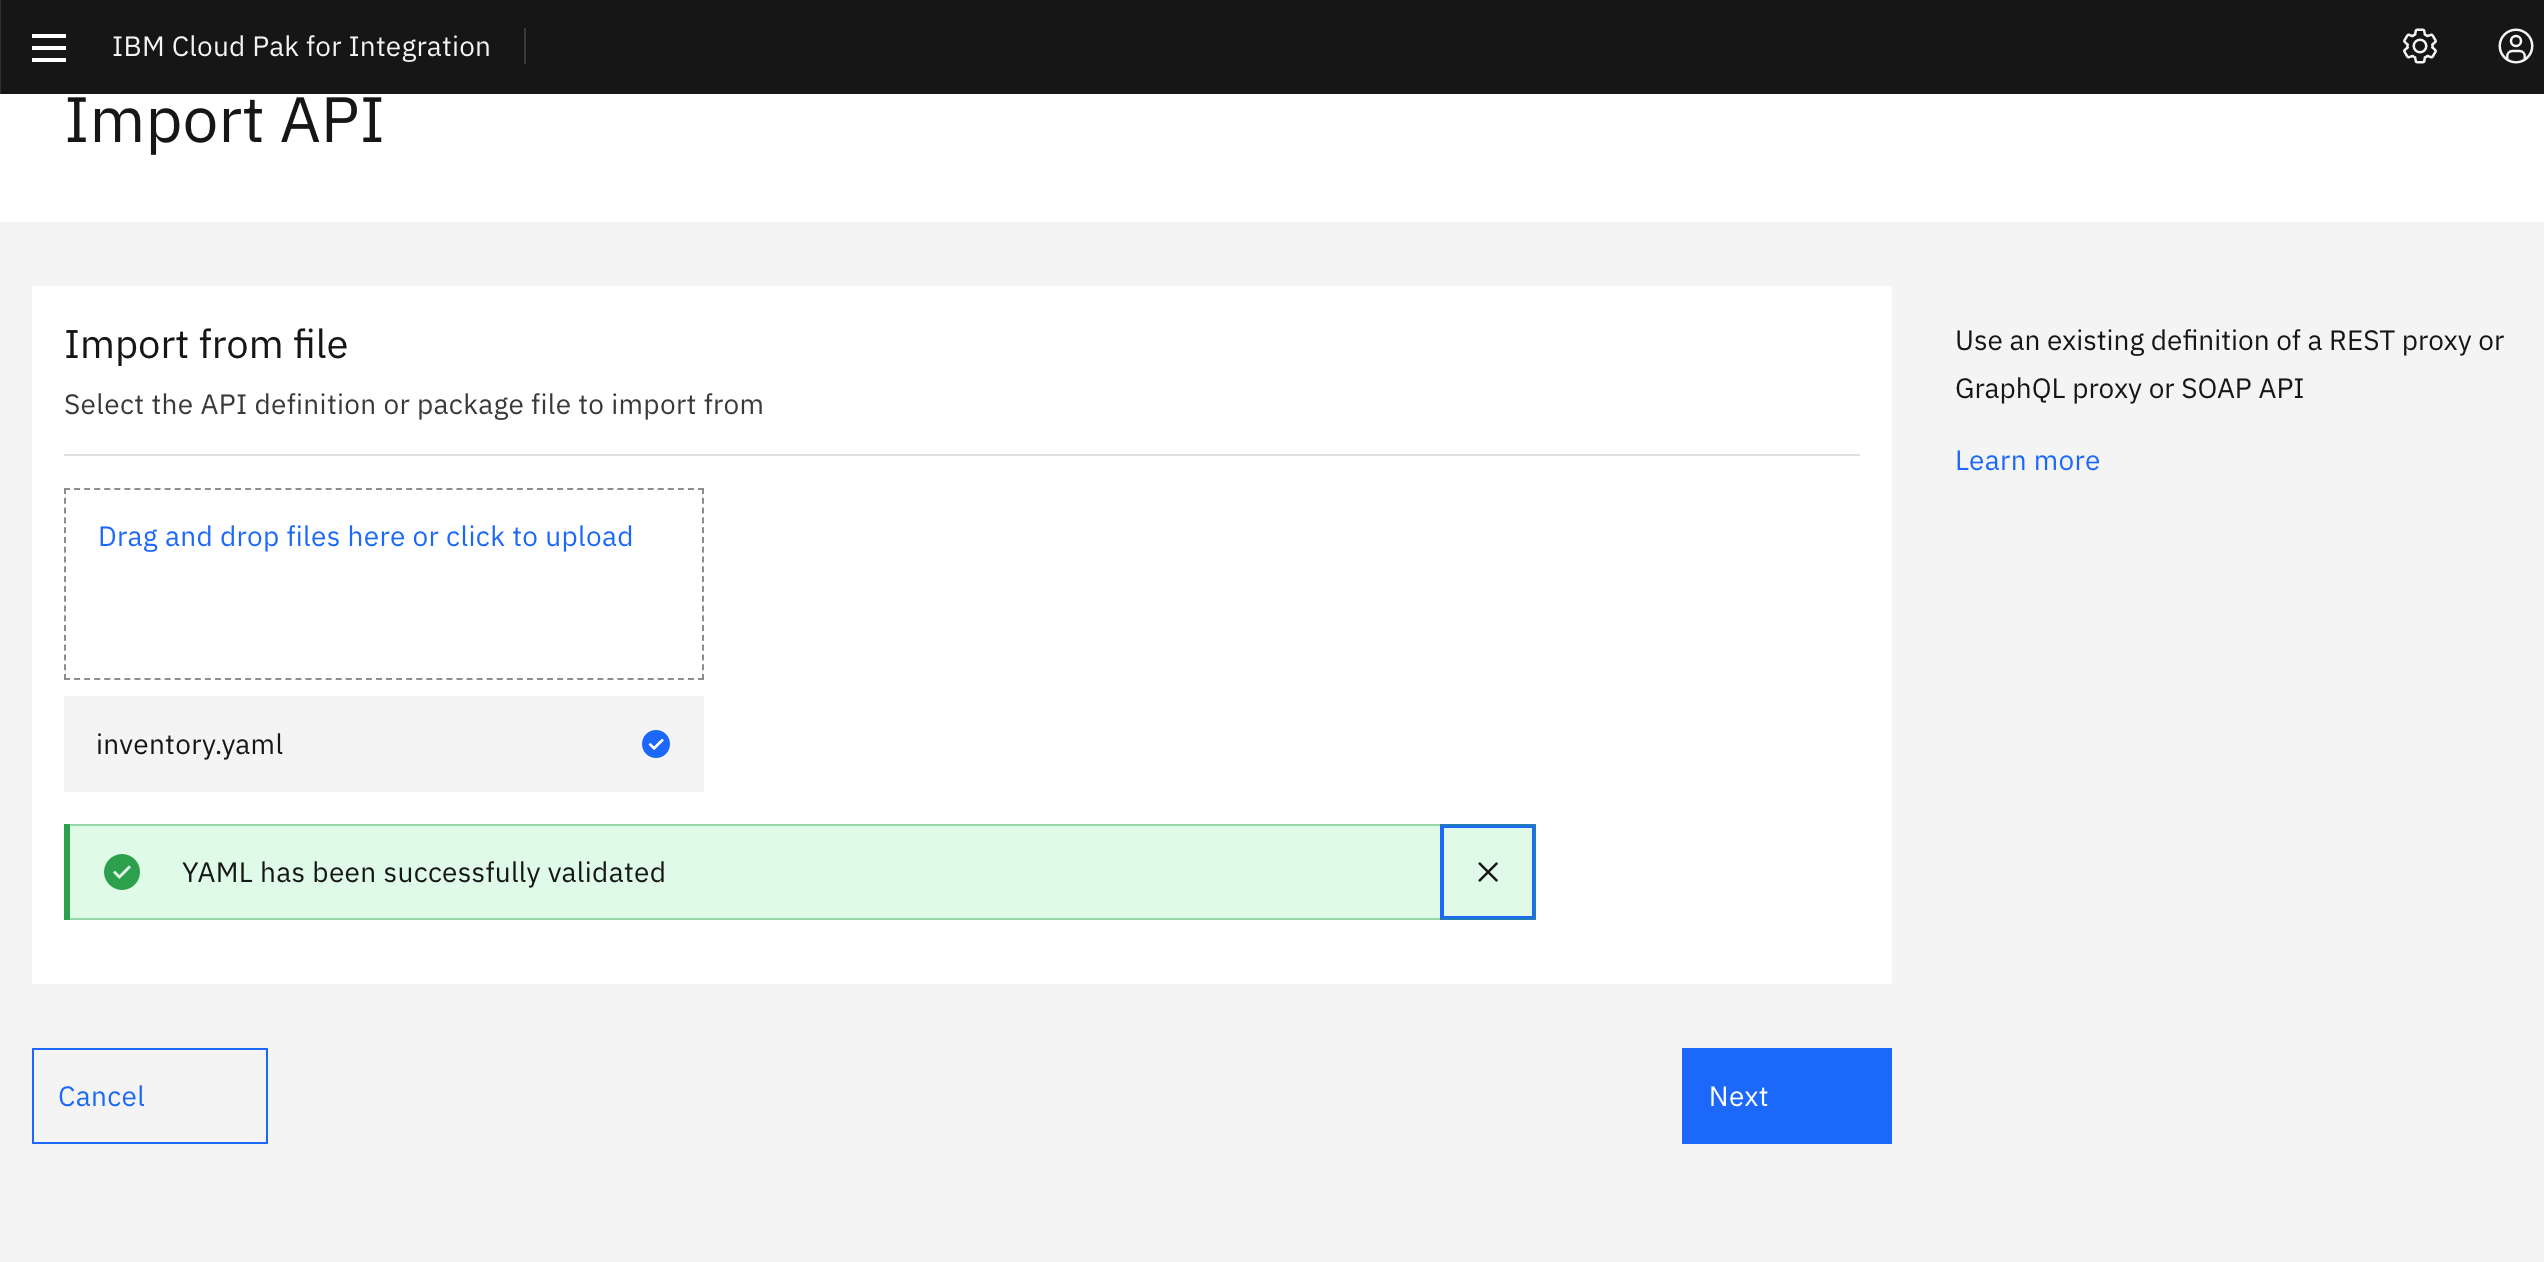
Choose the downloaded [[Inventory.yaml]] OpenAPI definition and Click [Next.]
-
[Do not ]select [Activate API]. Click [[Next]].

-
The API should be imported successfully as shown in the image below. Click [[Edit API]].

Configure API
After importing the existing API, the first step is to configure basic security before exposing it to other developers. By creating a client key and secret security, you are able to identify the app using the services. Next, we will define the backend endpoints where the API is actually running. API Connect supports pointing to multiple backend endpoints to match your multiple build stage environments. Finally, we will configure the proxy call to invoke the endpoint.
Configure API Key security
-
Click [[Security Definitions]].
-
In the [[Security Definition]] section, click the [[Add]] button on the right. This will open a new view titled [[API Security Definition][.]]
-
In the [Name] field, type [[client-id]].
-
Under [Type], choose [[API Key]]. This will reveal additional settings.
-
For [Located In] choose [[Header]]. For [Key Type] choose [[Client ID]]. In [[Parameter Name]] type [[X-IBM-Client-Id]]. Your screen should look like the image below.

-
Click the [[Save]] button to return to the [Security Definitions] section.
-
Click [[Add]] again to add the client secret definition.
-
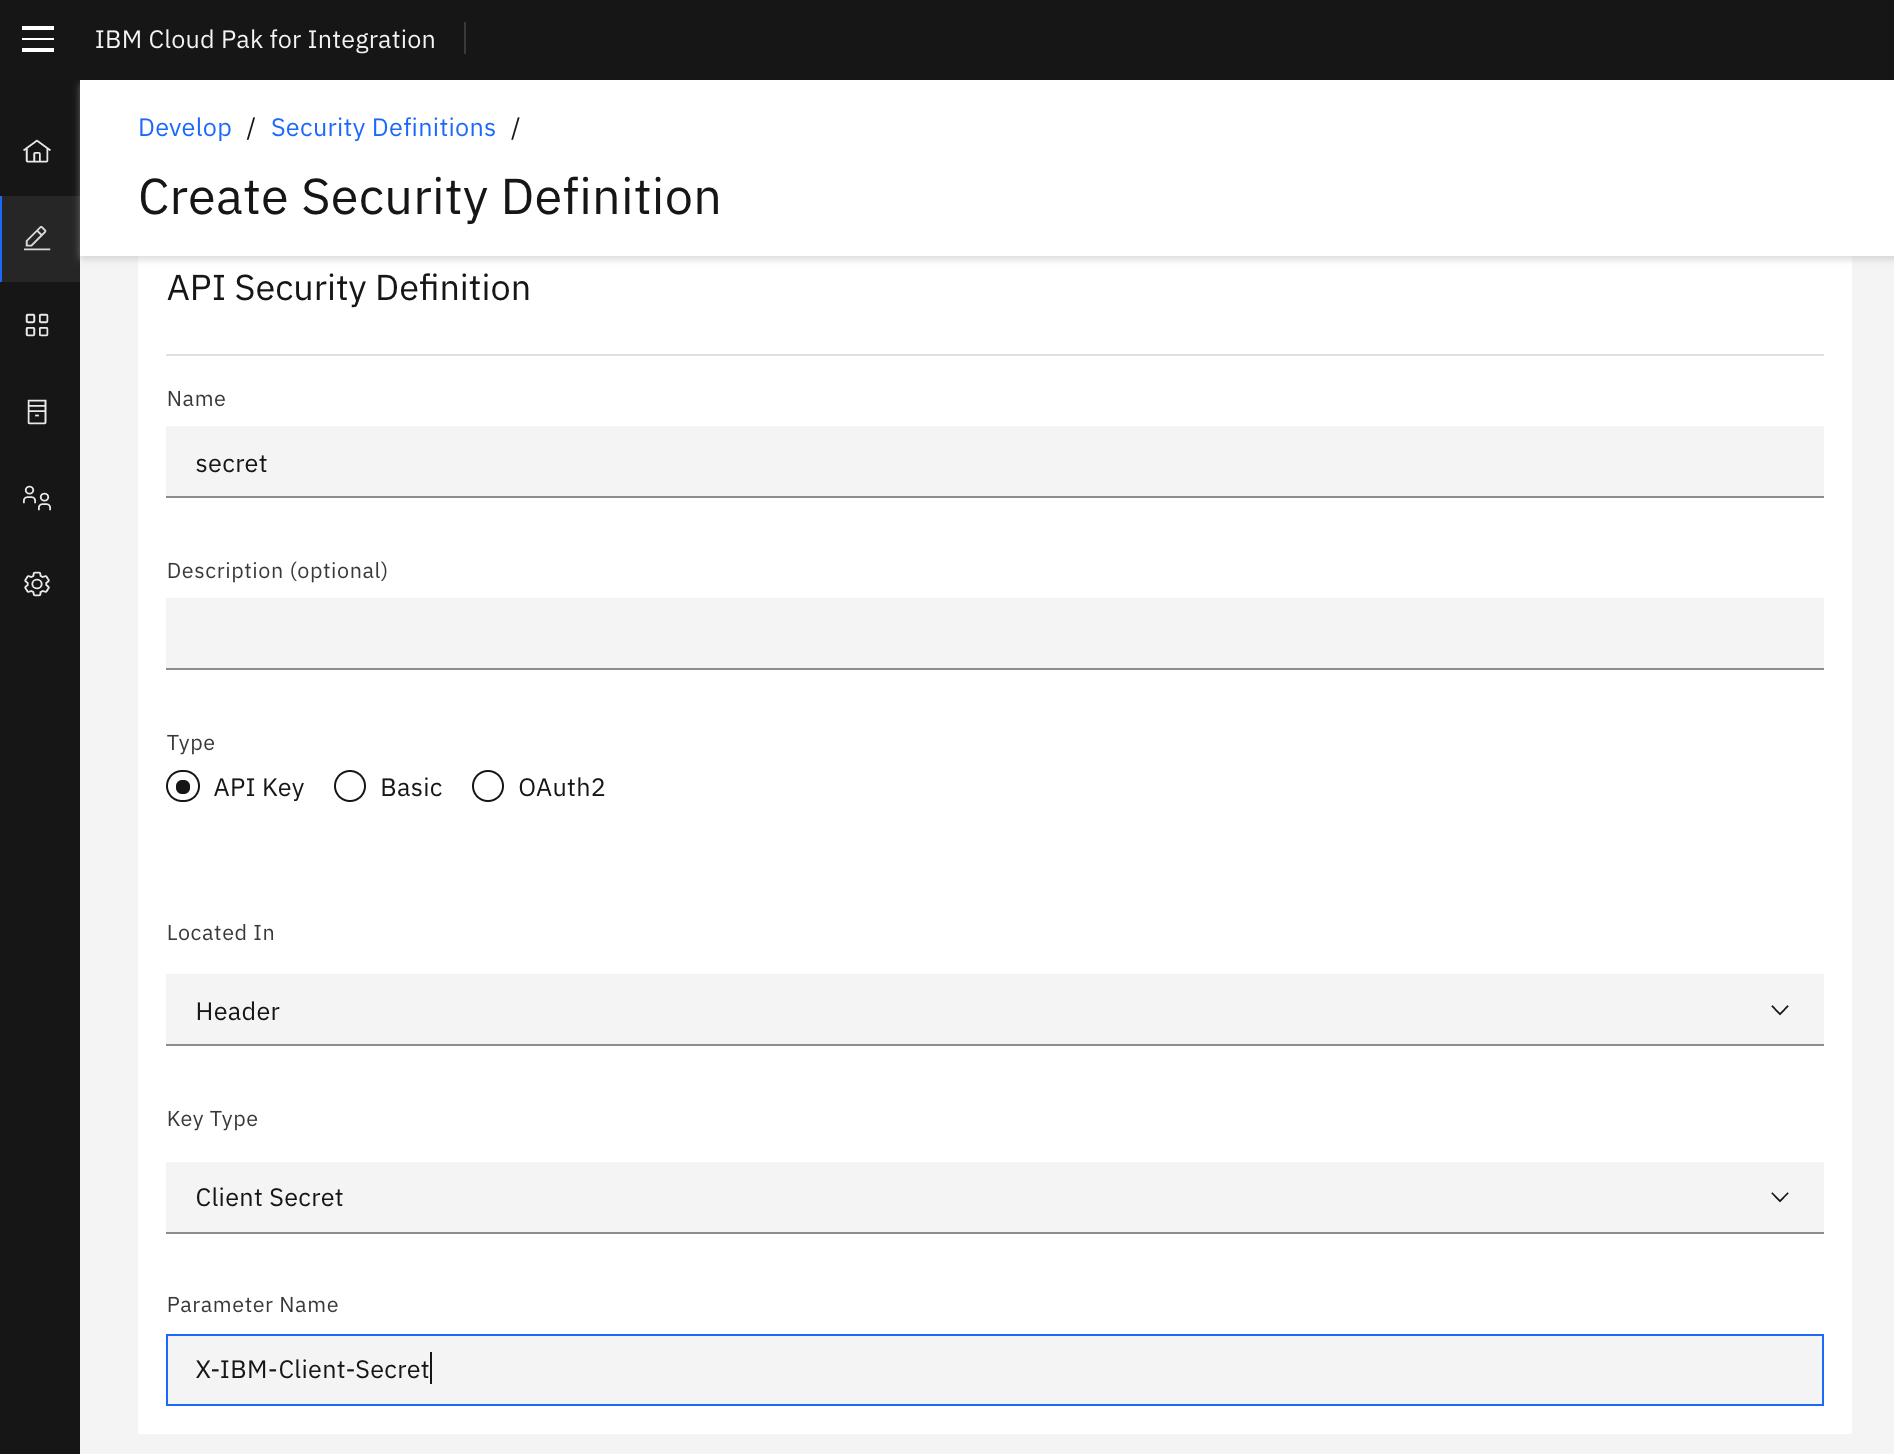
Under [Name,] type [[secret]].
-
For [Located In] choose [[Header]]. For [Key Type] choose [[Client Secret]]. In [[Parameter Name]] type [[X-IBM-Client-Secret]]. Your screen should look like the image below.
-
Click the [[Save]] button to return to the [Security Definitions] section.
-
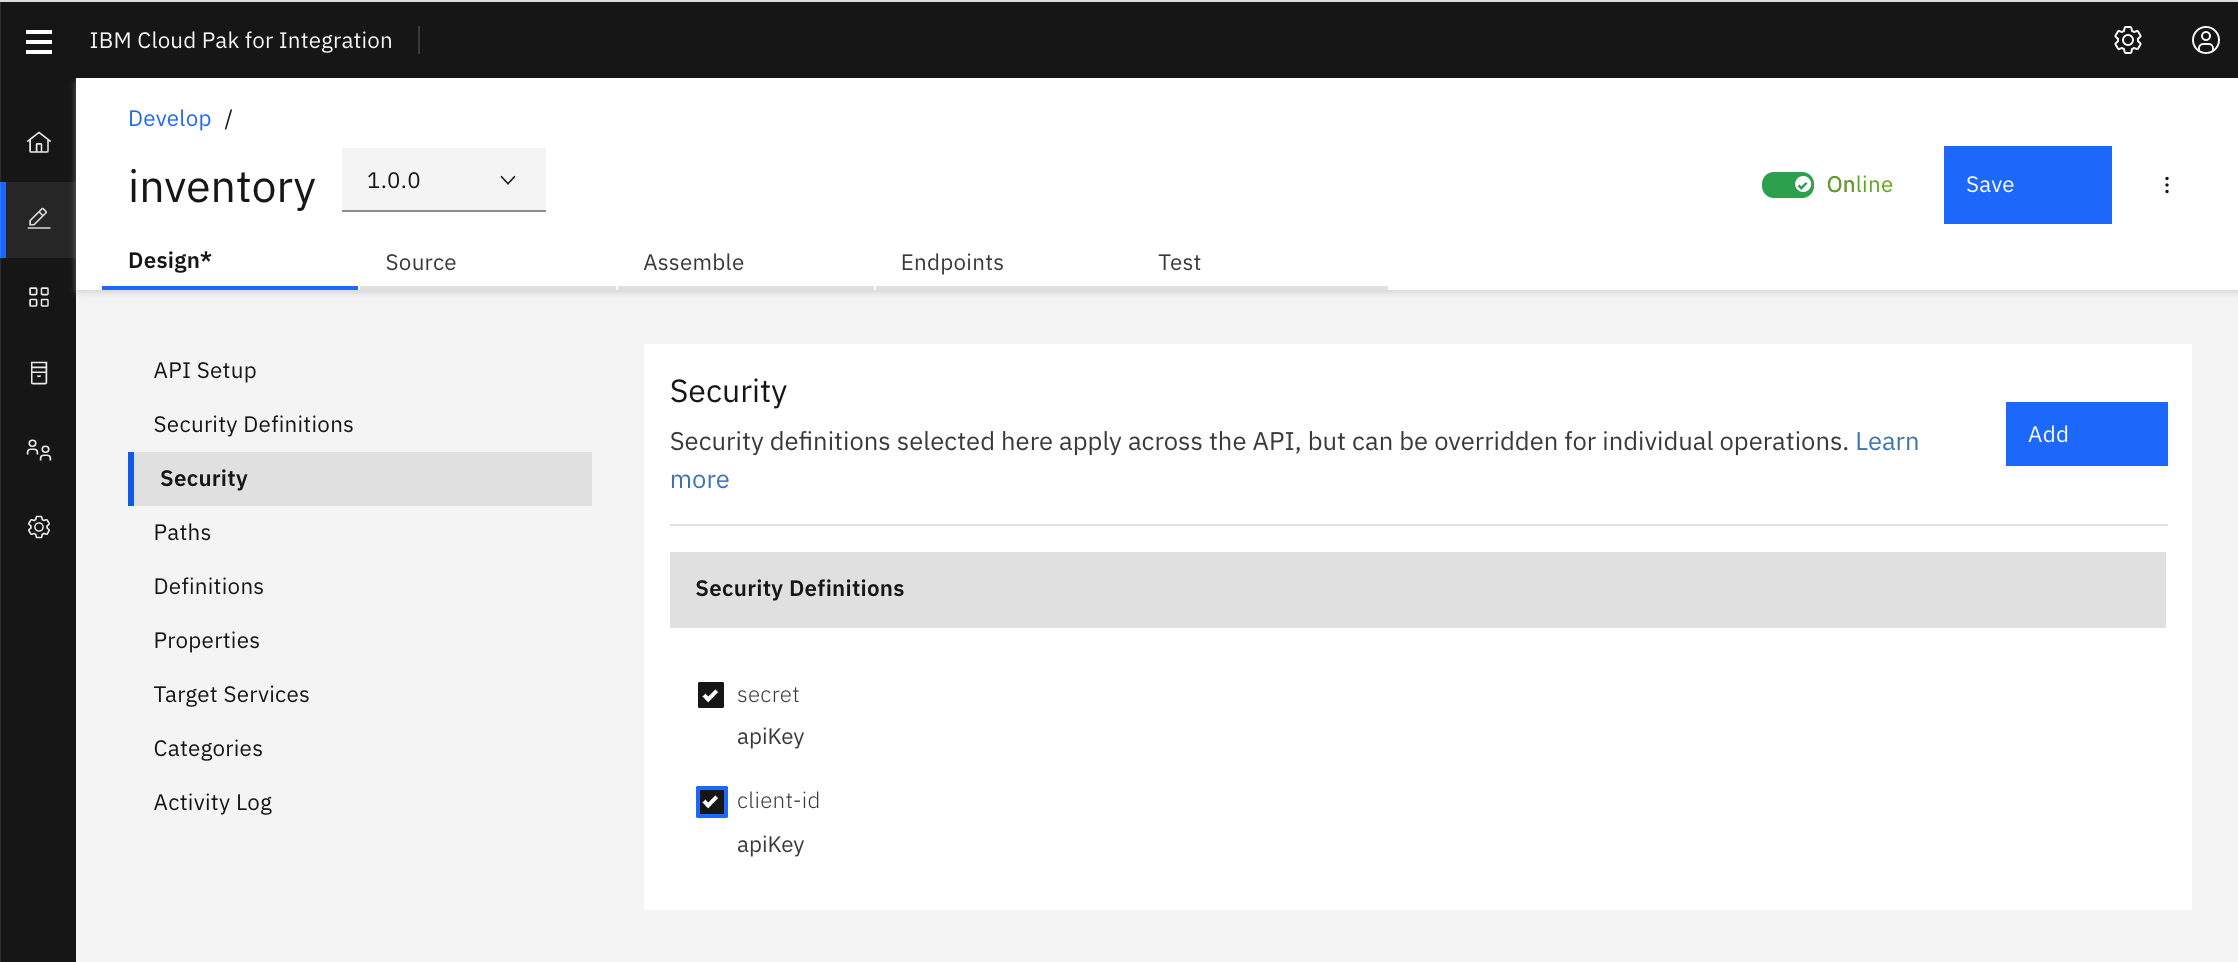
Click [[Security]] in the left menu.
-
Click [[Add. ]]This will populate the [Security Definitions] table with secret and client-id. Select both as shown in the image below. Then click [[Save]].

-
Add security and enable secret and client-id. Click Save to save the changes.
Define Target-URL for Sandbox environment
-
Click on [[Properties]] in the left menu.
-
Click on the target-url property. The target-url property is automatically inserted to be able to define multiple run-time targets for the service.
-
In the [Default value] text field, type https://apic-pot-inventory-api.mybluemix.net[.]
-
Click [Add.]
-
Choose the [Sandbox catalog] and for the URL type https://apic-pot-inventory-api.mybluemix.net

- Click [Save] to complete the configuration.
Configure Proxy Call in Designer
-
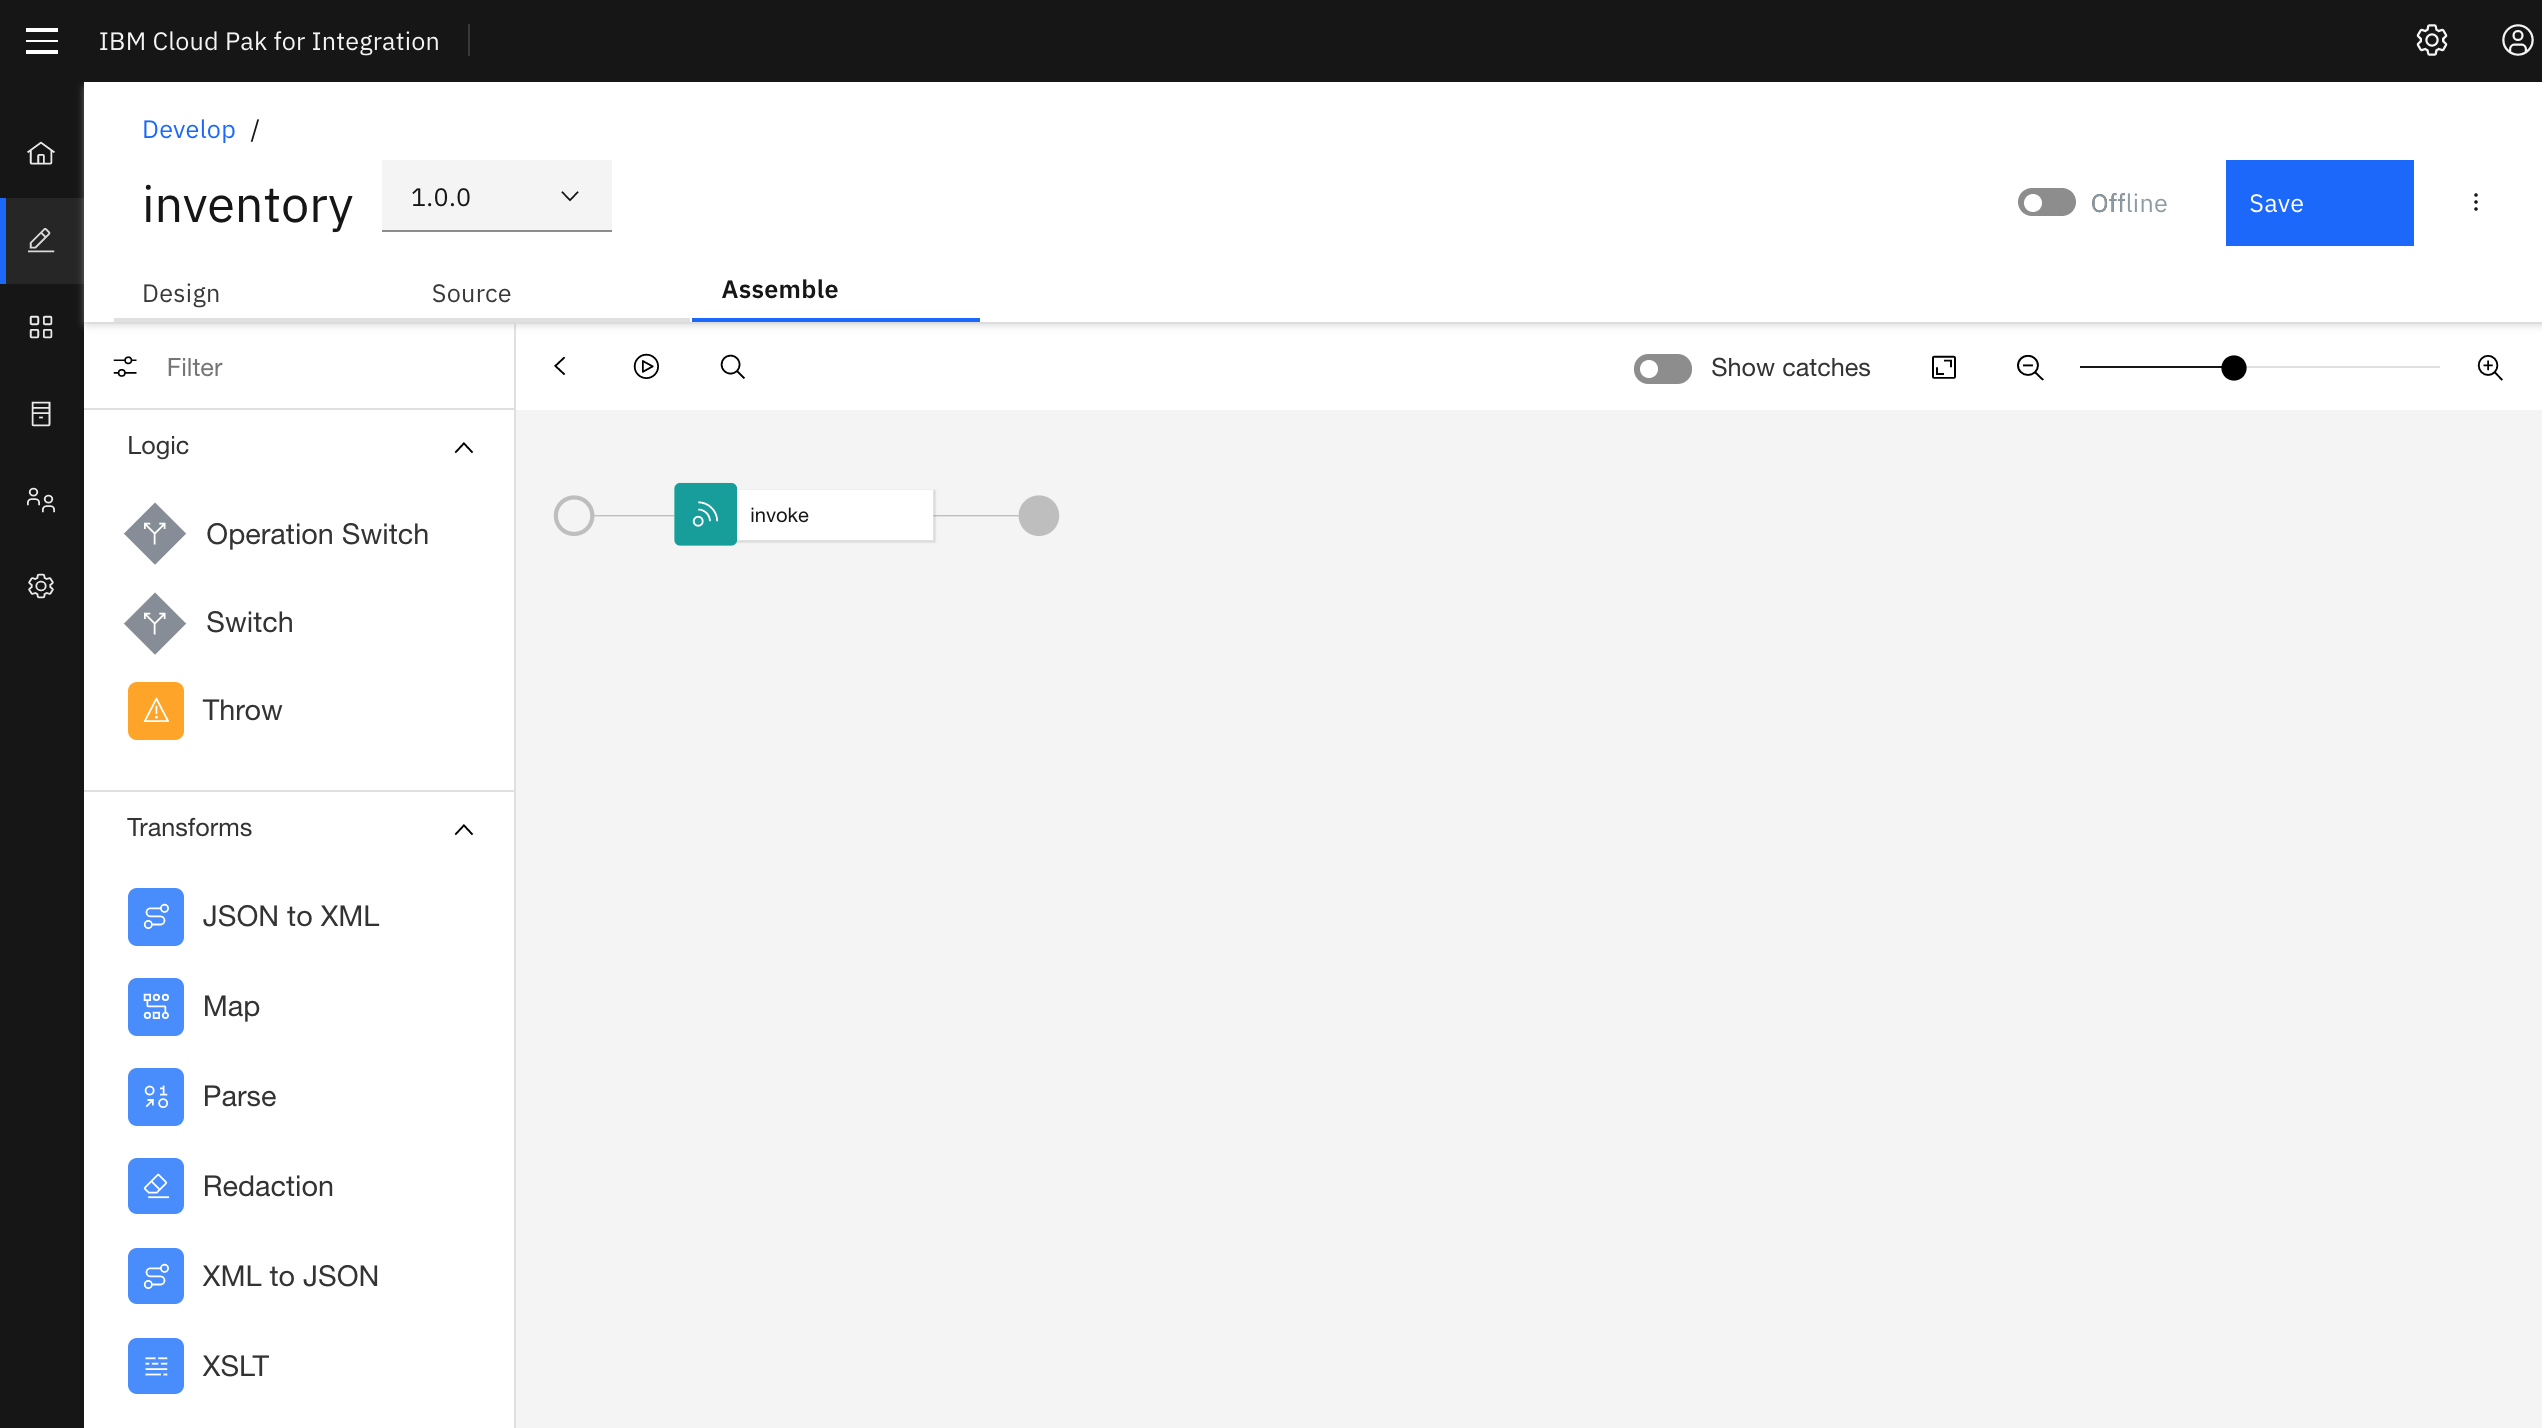
On the top Navigation, click [[Assemble]].
-
Click [[Invoke]] in the flow designer.
-
This will open a window from the right to configure. In the URL field, type [[$(target-url)$(request.path)$(request.search)]].
-
Click [[Save]].
Test the API
In the API designer, you have the ability to test the API immediately after creation in the Assemble view!
-
Click the [play] [icon] as indicated in the image below.

-
Toggle [[Offline]] to activate API. to publish the API itself to the gateway for testing.

-
After the API is published, additional tabs appear your screen should look like the image below.

-
Choose [Test] tab and append [/Items] to the URL as shown below.

-
Your client Id and client secret for the sandbox-test-app is prefilled.
-
Scroll all the way to the bottom of the test view.
-
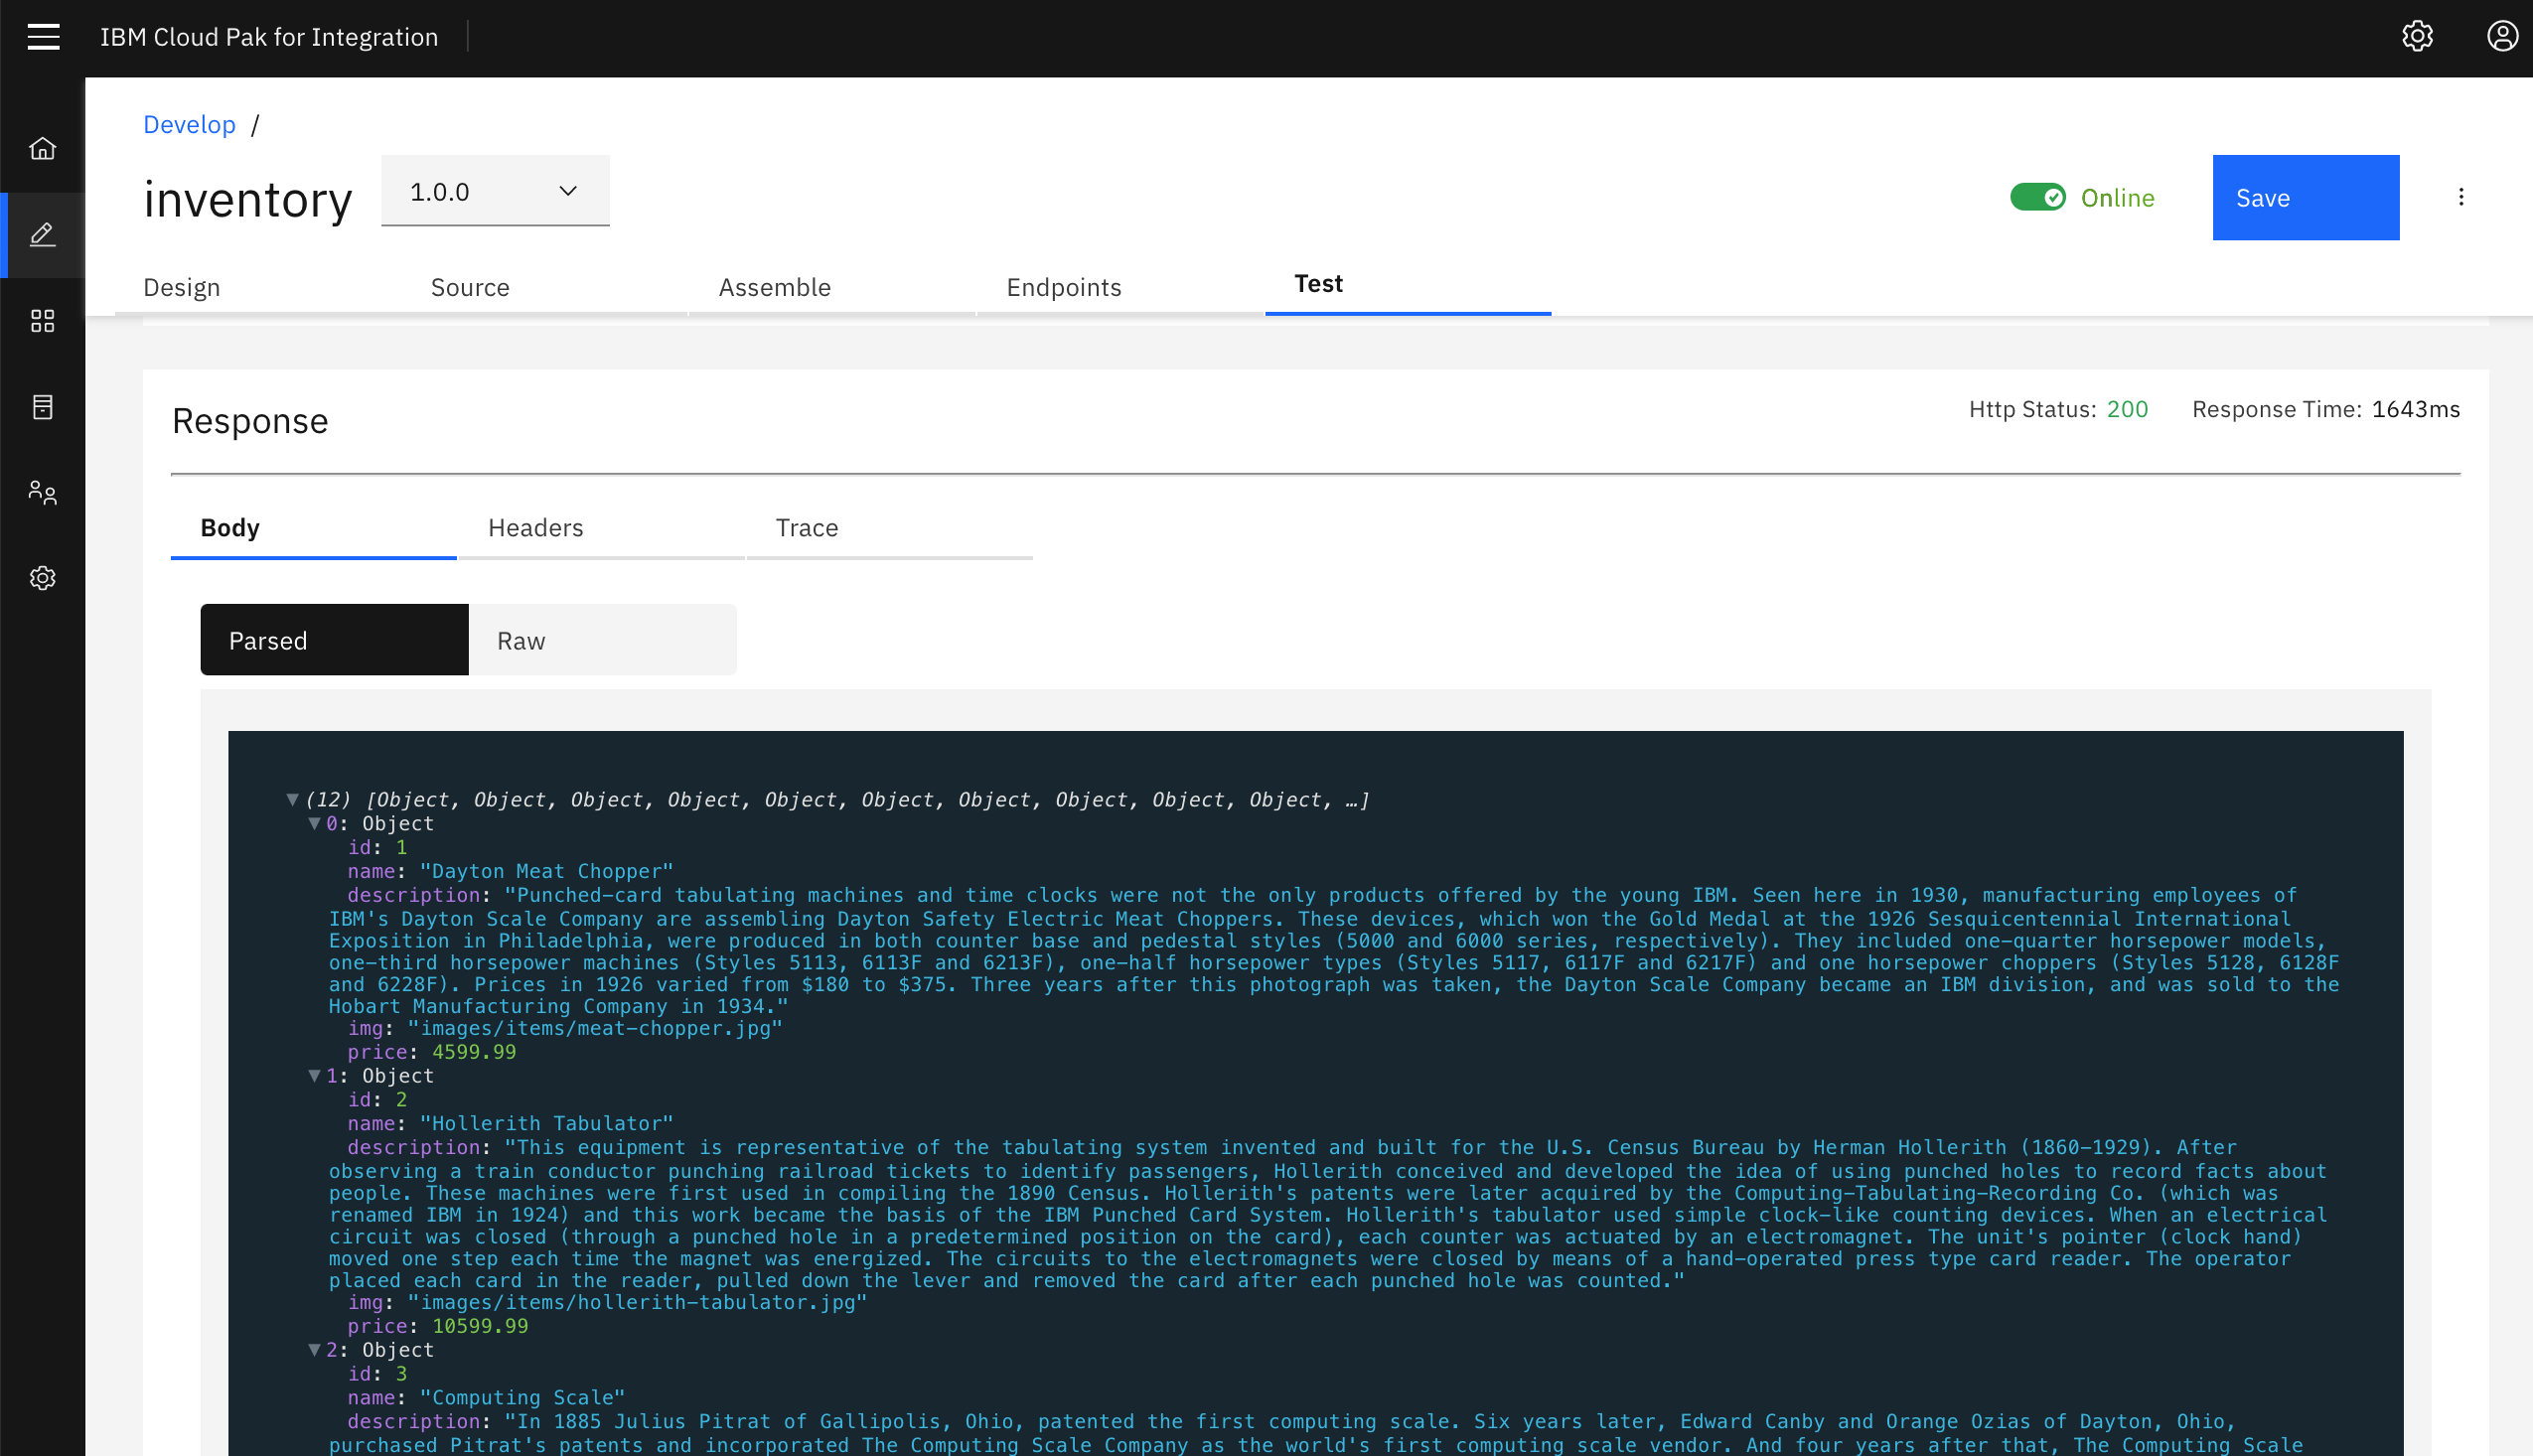
Click [[Send]].
-
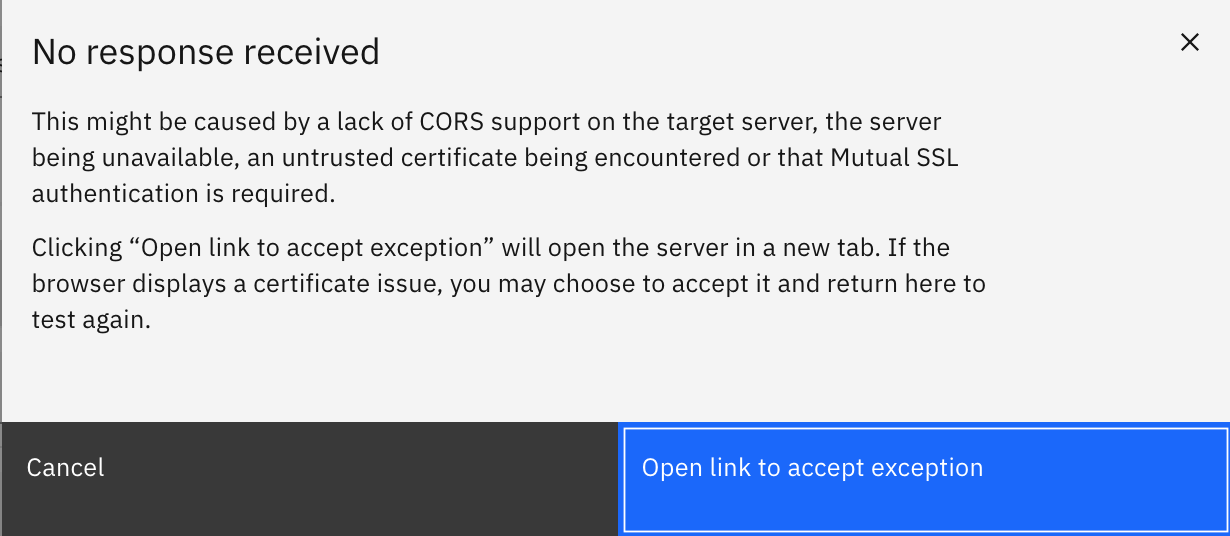
If this is the first test of the API, you will see a certificate exception. Simply click on the URL and choose the option to proceed.
-
Go back to the test view and click [[Send]] again.
-
Now you will see a Response section with Status code 200 OK and the Body displaying all the inventory items.
Publish API
In this lab, we will make the API available to developers. In order to do so, the API must be first put into a product and then published to the sandbox catalog. A product dictates rate limits and API throttling. When the product is published, the Invoke policy defined in the previous lab is written to the gateway.
Create Inventory Product and Add API
-
From the vertical navigation menu on the left, click [Develop] to return to the Develop home screen.

-
Click [Add] and select [Product].
-
On the next screen, select [New Product]. Then click [Next].
-
For the Title, enter [[Inventory APIs][.]] Click [Next].
-
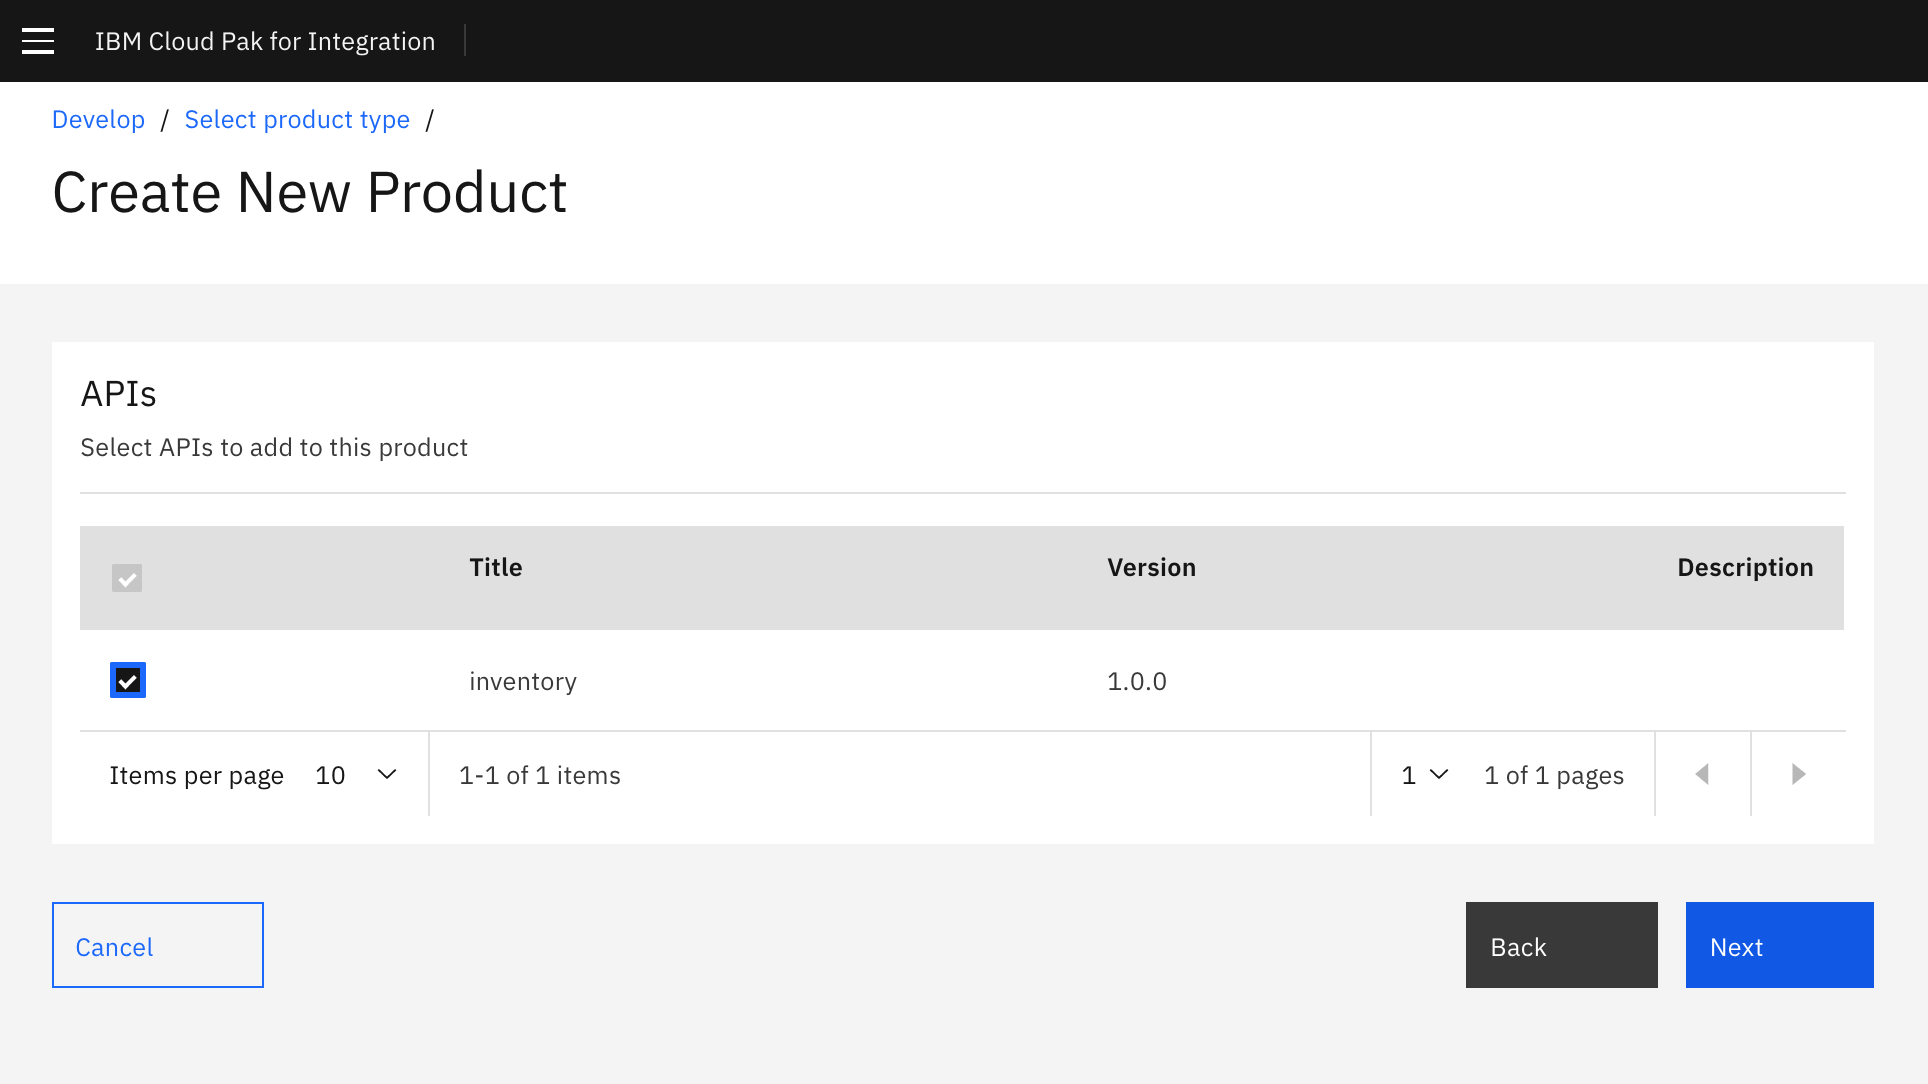
Select the [inventory 1.0.0 API] as shown in the image below. Then click [Next].
-
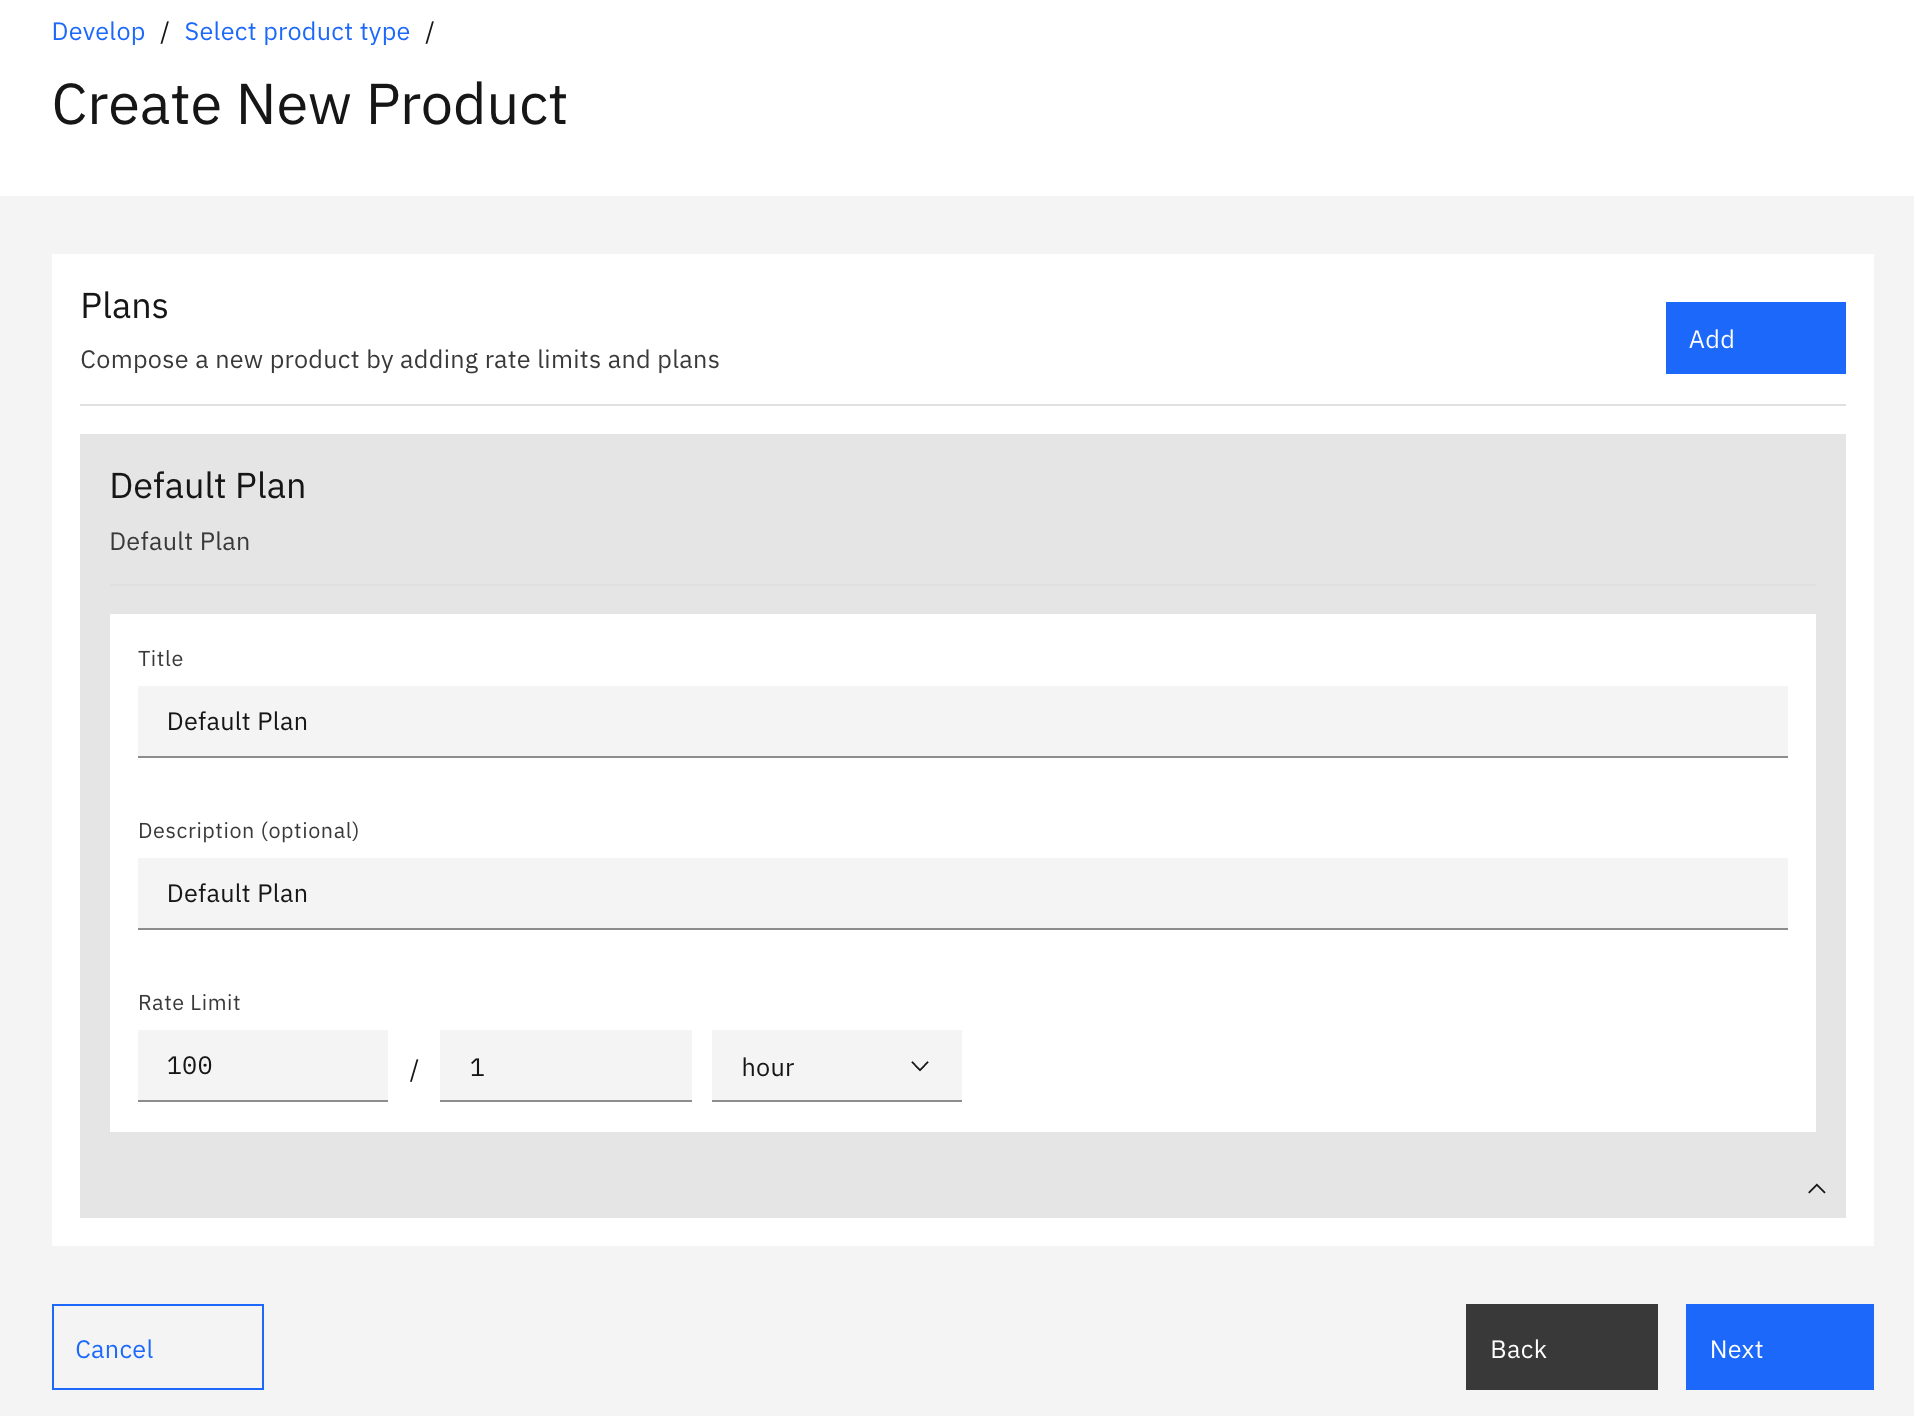
Keep the [Default Plan] as is. Click [Next].
-
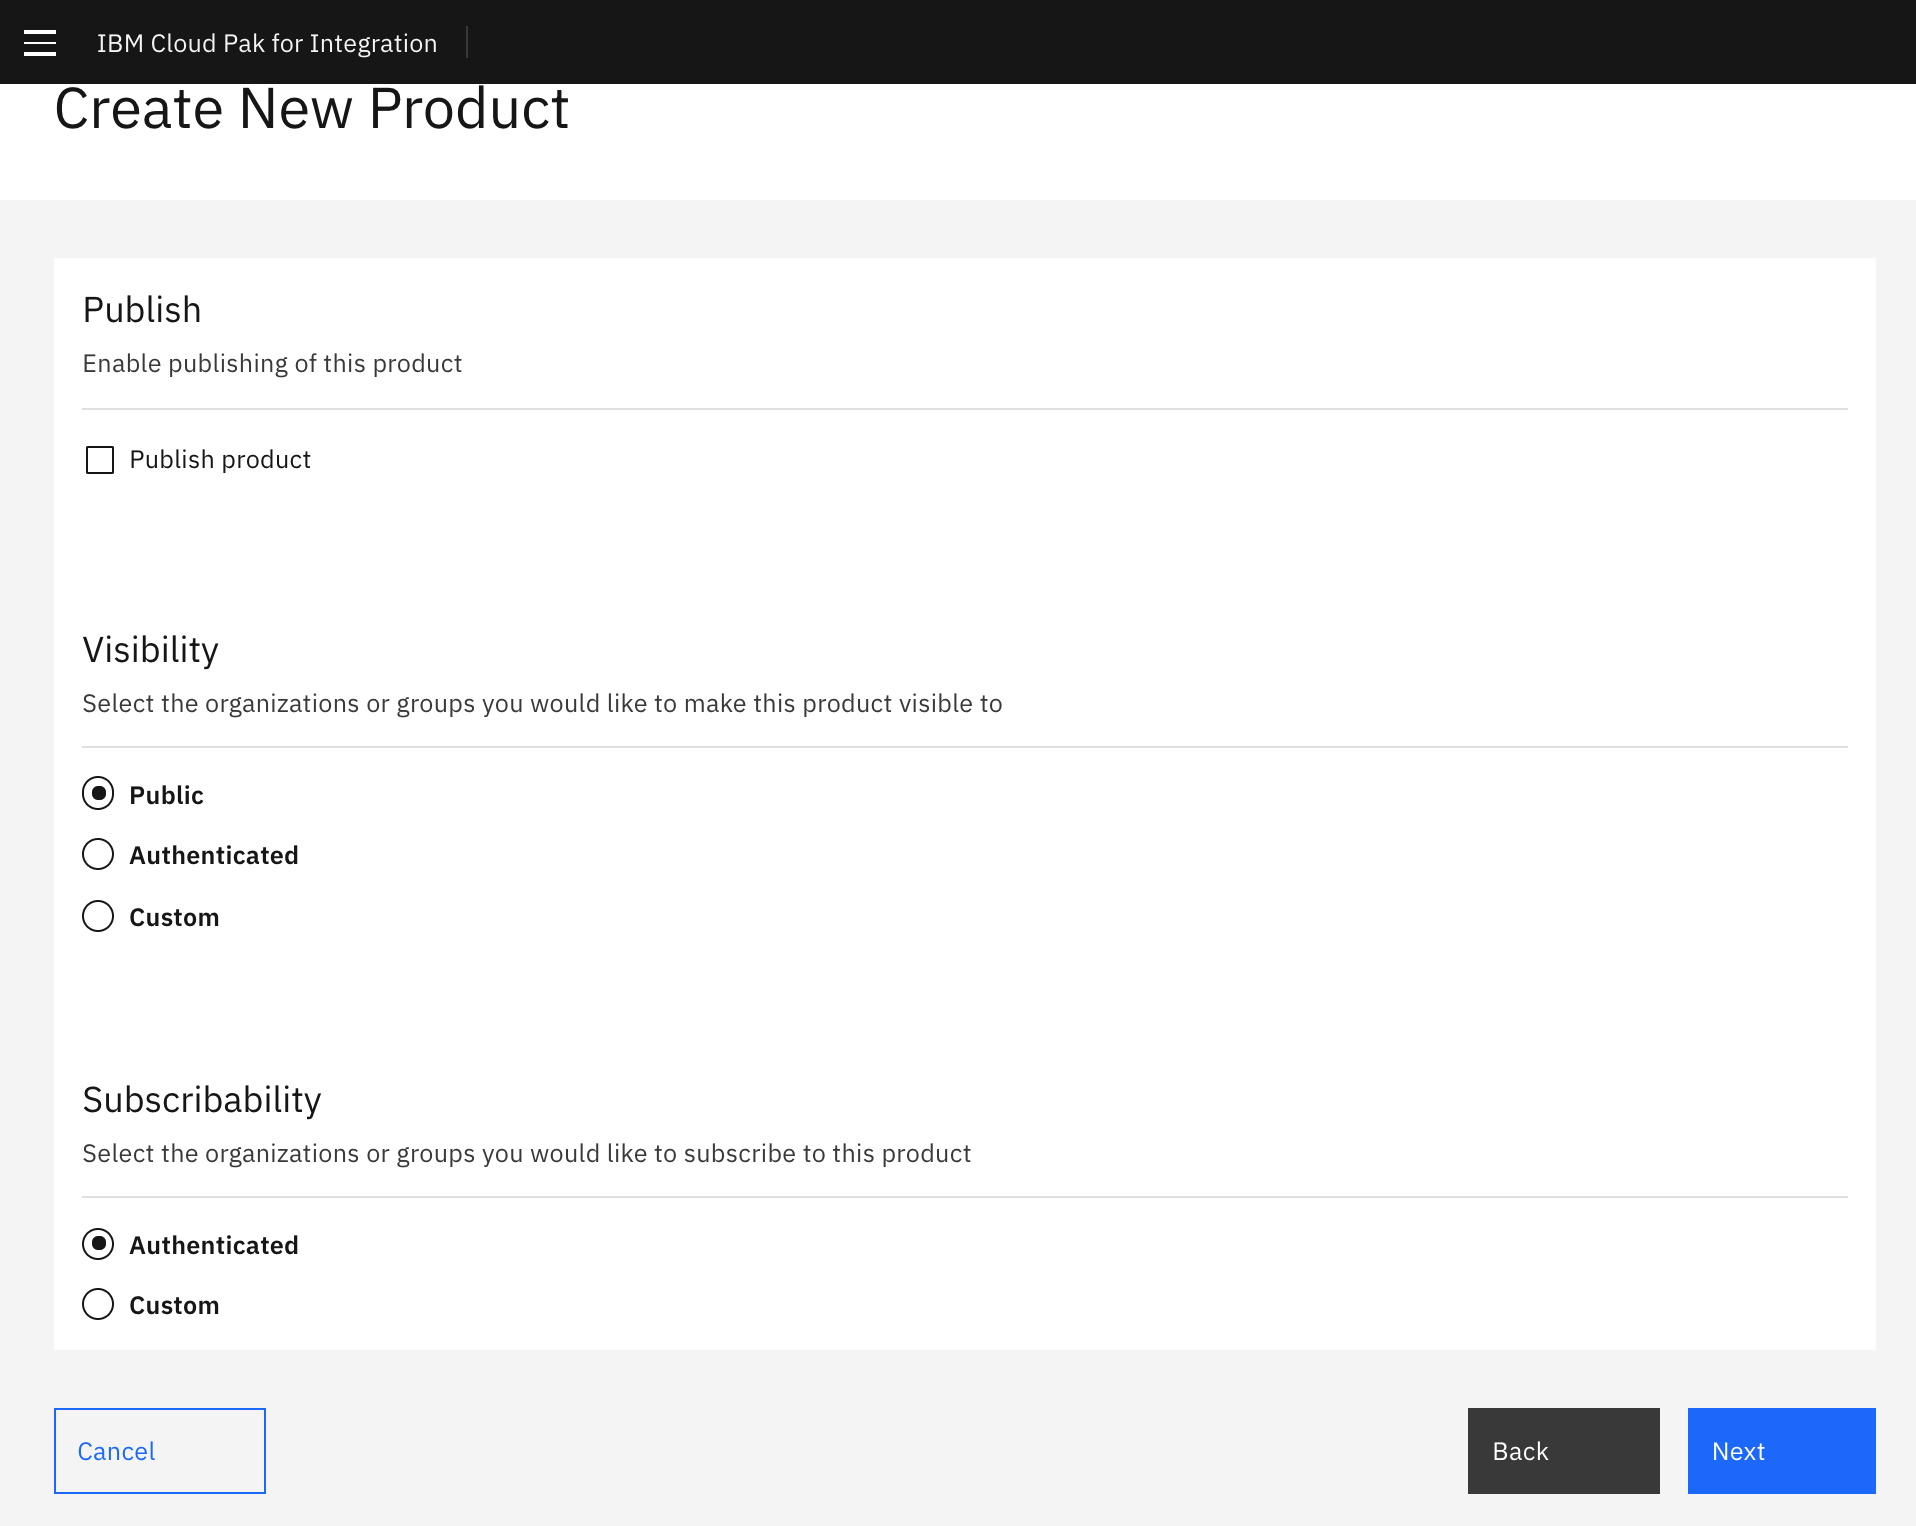
Under [Publish], enable [Publish Product] as shown in the image below. Then click [[Next][. ]]
-
The Product is now published successfully with the API base URL listed and available for developers from the developer portal. Go to APIC (v10) Dev Jam - Lab 2 - The Developer Portal Experience to see how to access this API as a developer.
Summary
You completed the APIC Dev Jam Lab 1 - Create and Secure an API. Throughout the tutorial, you explored the key takeaways:
-
Create an API by importing an OpenAPI definition for an existing REST service.
-
Configure ClientID/Secret Security, endpoints, and proxy to invoke endpoint.
-
Test a REST API in the online developer toolkit.
-
Publish an API for developers.
Continue the APIC Dev Jam! Go to APIC Dev Jam Lab 2 - The Developer Portal Experience to learn how to socialize this API and make it available to developers.